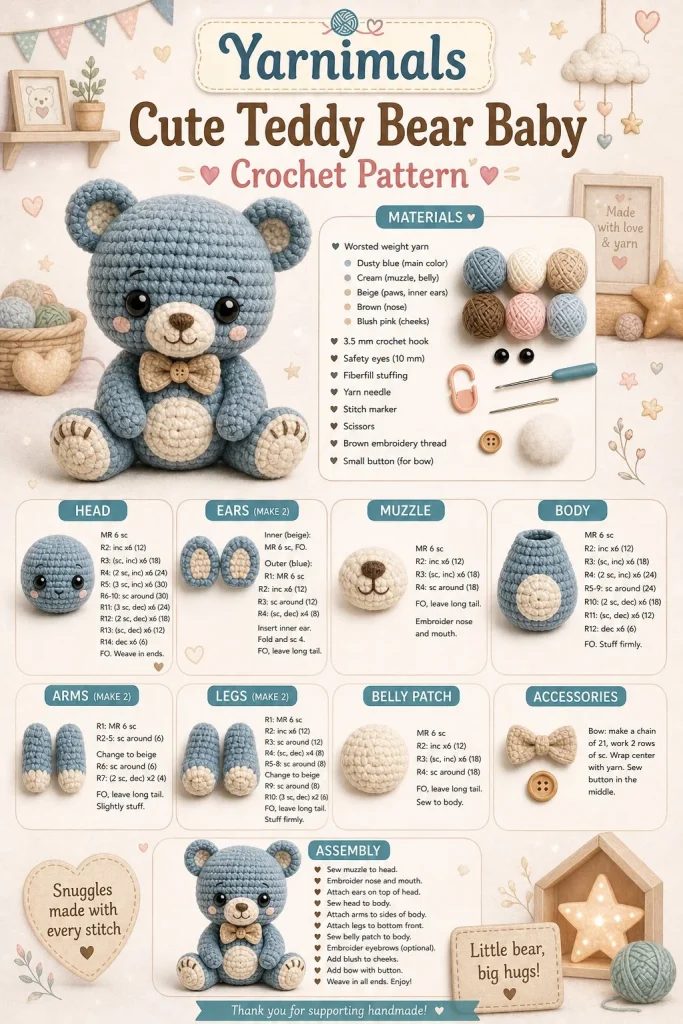
A delightful handmade character awaits you in this charming crochet project! This adorable Yarnimals plushie features a soft, huggable design with cute kawaii elements that make it perfect for both beginners and experienced crocheters alike. With its friendly expression and delightful details, this plushie can be a wonderful gift or a lovely addition to your home decor. Let’s dive into the pattern to bring this cheerful creation to life!
Materials
- Worsted weight yarn in:
- Main color: Light blue
- Contrast color: White
- Accent color: Light pink
- Crochet hook size G (4 mm)
- Safety eyes (9 mm) or yarn for embroidery
- Stitch marker
- Fiberfill stuffing
- Tapestry needle for sewing
Abbreviations
- MR: magic ring
- ch: chain
- sc: single crochet
- inc: increase
- dec: decrease
- sl st: slip stitch
Head
- Begin with your main color. Make a magic ring, then work 6 sc into the ring. (6)
- Round 2: Inc in each st around. (12)
- Round 3: Sc in the next st, inc in the next st; repeat around. (18)
- Rounds 4-6: Sc in each st around. (18)
- Round 7: Sc in the next 2 st, inc in the next st; repeat around. (24)
- Rounds 8-10: Sc in each st around. (24)
- Fasten off. Leave a long tail for sewing later.
Body
- Using the main color, start with a magic ring and work 6 sc into the ring. (6)
- Round 2: Inc in each st around. (12)
- Round 3: Sc in the next st, inc in the next st; repeat around. (18)
- Round 4: Sc in the next 2 st, inc in the next st; repeat around. (24)
- Rounds 5-8: Sc in each st around. (24)
- Fasten off. Leave a long tail for sewing.
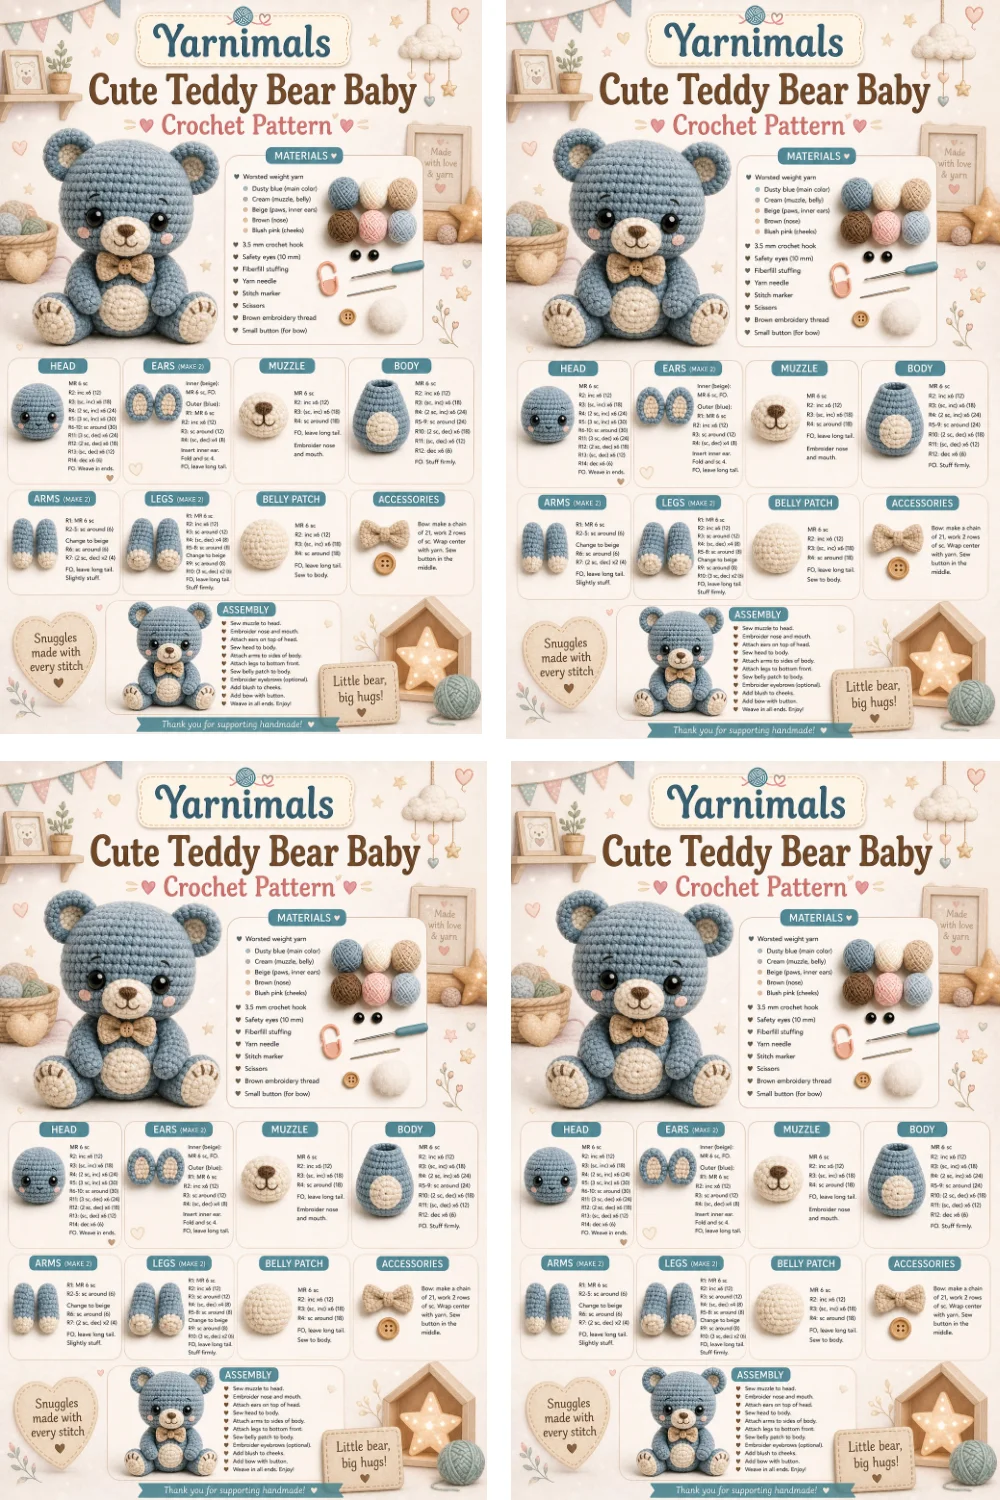
Arms (Make 2)
- Using the main color, start with a magic ring and work 5 sc into the ring. (5)
- Rounds 2-5: Sc in each st around. (5)
- Fasten off. Leave a long tail for sewing.
Legs (Make 2)
- Using the main color, start with a magic ring and work 6 sc into the ring. (6)
- Rounds 2-4: Sc in each st around. (6)
- Fasten off. Leave a long tail for sewing.
Ears (Make 2)
- Using the accent color, start with a magic ring and work 4 sc into the ring. (4)
- Round 2: Inc in each st around. (8)
- Fasten off. Leave a long tail for sewing.
Tail
- Using the main color, start with a magic ring and work 6 sc into the ring. (6)
- Rounds 2-3: Sc in each st around. (6)
- Fasten off. Leave a long tail for sewing.
Assembly and Finishing
- With all pieces made, start assembling. Attach the safety eyes to the head before sewing it to the body, or embroider a face using yarn.
- Sew the head to the body securely.
- Attach the arms and legs to the body, ensuring they’re evenly spaced for balance.
- Place the ears on top of the head, adjusting their position for the best look.
- Finally, sew the tail to the back of the body.
- Weave in all loose ends.
Tips for the Best Result
- Consider using a stitch marker to keep track of your rounds, especially for the head and body sections, to maintain an even tension.
- Stuff your plushie lightly to ensure it has a nice shape without being overly firm.
- When sewing parts together, take your time to position them symmetrically for an adorable finish.
Conclusion
This lovely Yarnimals plushie is not just a scrumptious crochet project but also a delightful gift idea for friends and family. Feel free to experiment with different color combinations to create a whole collection of these charming characters! Happy crocheting!



