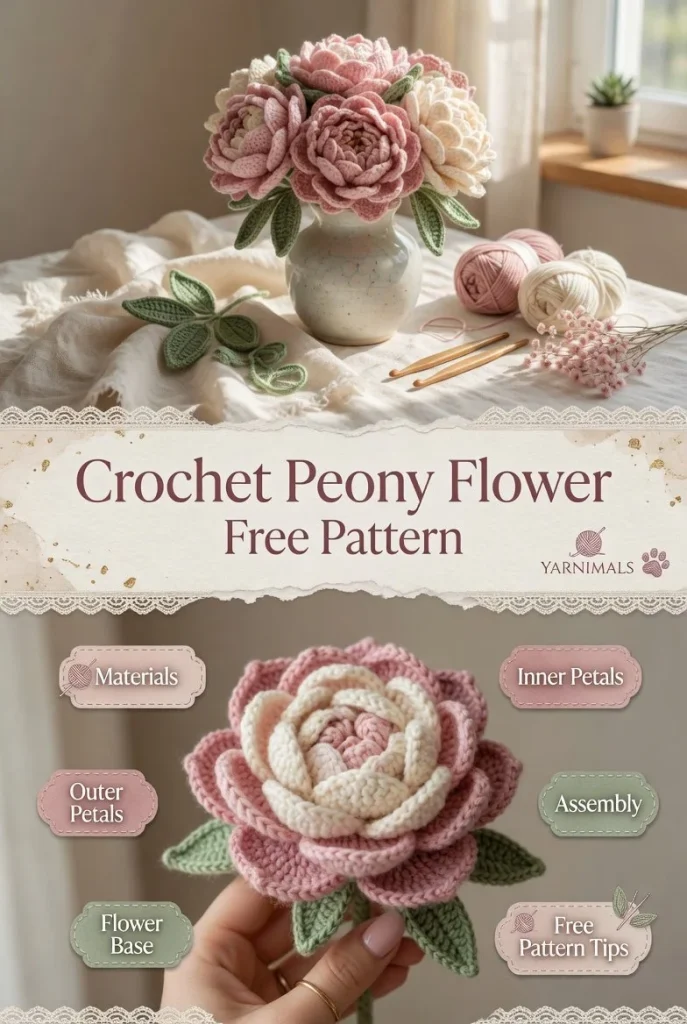
Creating a lush, romantic crochet peony flower is a delightful way to add a touch of elegance to any space. This pattern is perfect for beginners looking to enhance their crochet skills while crafting stunning flowers that can be used in bouquets, wedding décor, or as thoughtful handmade gifts. The peony features layered petals for added depth and a soft bloom shape that is truly captivating. Let’s get started with this beautiful crochet project!
Materials
- Worsted weight yarn (in your choice of color for the petals and green for the base)
- Crochet hook (appropriate size for your yarn, usually 4.0mm or G hook)
- Scissors
- Yarn needle (for weaving ends)
- Stitch marker (optional, for tracking rounds)
Abbreviations
- MR: magic ring
- ch: chain
- sc: single crochet
- hdc: half double crochet
- dc: double crochet
- inc: increase
- dec: decrease
- sl st: slip stitch
Inner Petals
To create the inner petals of the peony, start with a magic ring. This gives your petals a nice, rounded shape.
- Round 1: Ch 3, then work 11 dc into the MR. Pull tight and sl st to the top of the first ch to close the round. (12 dc)
- Round 2: Ch 3, then *dc in the next stitch, inc in the next stitch; repeat from * around. Sl st to the top of the first ch. (18 dc)
Repeat similar steps to create additional inner petals, ensuring that they are slightly smaller than your outer petals for a layered effect.
Outer Petals
Now, let’s start on the outer petals for a fuller look:
- Round 1: Using the same method, create a new MR and ch 3, then work 12 dc into the ring. Close with a sl st. (12 dc)
- Round 2: Ch 3, then *dc in the next stitch, inc in the next stitch; repeat from * around. Sl st to the first ch. (18 dc)
- Round 3: Ch 3, *dc in the next 2 stitches, inc in the next stitch; repeat from * around. (24 dc)
To ensure the petals bloom beautifully, you can curl the edges slightly by blocking them after finishing.
Flower Base
The flower base will help hold all the petals together:
- Base Round: Ch 5, then sl st in the 2nd ch from hook, sc in next ch, hdc in next ch, and dc in the last ch, creating a little point which will serve as the base for attaching your petals.
Leaves (Optional)
Adding leaves gives your peony a natural finish:
- Leaf Round: Ch 10 to create a foundation chain. In the 4th ch from the hook, work 1 dc, then 1 hdc in the next ch, 2 sc in the next two ch, followed by 1 hdc and 1 dc in the last two ch.
- Fasten off and leave a long tail for sewing onto the flower.
Assembly
- Begin by attaching the inner petals to the base using the yarn needle. Layer them slightly overlapping to enhance the floral appearance.
- Next, attach the outer petals in the same manner, ensuring they cover the inner petals and form a full bloom.
- If you’ve made leaves, sew them onto the base of the flower for that extra touch of authenticity and elegance.
Tips for the Best Result
- Use a firm tension when working the petals to help them hold their shape.
- Consider blocking the petals after completion to give them a more finished look and enhance their dimensions.
- Experiment with different color combinations for the petals and leaves to create unique peonies that match any décor or occasion.
With this crochet pattern, you can create stunning peony flowers that will brighten up any room. If you’re interested in more flower designs, consider checking out this beginner-friendly crochet rose flower pattern for additional inspiration!
Creating flowers like these is not just rewarding; it also adds a personal touch to your home or makes for unique gifts. Enjoy your crafting!



