Intro
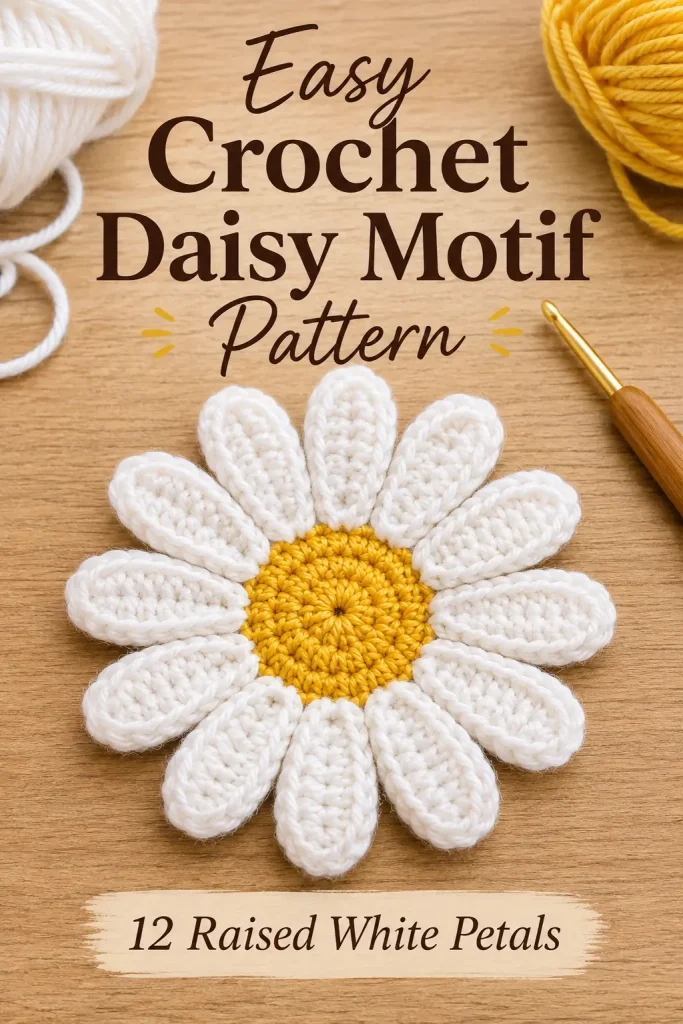
A simple crochet daisy can become the starting point for so many handmade projects. This bright flower motif combines a dense golden-yellow center with a full ring of raised white petals, creating the cheerful dimensional look shown in the reference.
The construction is intentionally clear and count-based. The yellow center finishes with exactly 24 stitches, which gives us an even foundation for 12 white petals. Each petal uses one center stitch, with one unused stitch between petals as a spacer. This keeps every petal evenly positioned around the flower without guessing where the next one belongs.
Use the finished daisies for bags, blankets, garlands, cushion covers, appliqués, summer accessories, or larger floral crochet projects.
Description
The finished crochet daisy has a flat circular golden-yellow center surrounded by exactly 12 elongated white petals.
The center is worked in two rounds of double crochet. The first round creates 12 stitches and the second round increases evenly to 24 stitches.
The white petals are then worked directly into every other stitch of the yellow center. Each petal combines chains, double crochet, and treble crochet to create a softly rounded shape with extra height through the middle.
The finished motif measures approximately 9–11 cm / 3.5–4.25 inches across, depending on yarn, hook size, and tension.
Materials
- DK or light worsted weight yarn in golden yellow
- DK or light worsted weight yarn in white
- 3.5 mm crochet hook
- Yarn needle
- Scissors
- Stitch marker
- Blocking mat and pins, optional
Abbreviations
- MR – magic ring
- ch – chain
- sl st – slip stitch
- dc – double crochet
- tr – treble crochet
- st – stitch
- sts – stitches
Pattern Notes
- US crochet terminology is used.
- Difficulty: confident beginner.
- The flower is worked from the center outward.
- The yellow center contains exactly 24 stitches before the petals begin.
- The finished flower contains exactly 12 petals.
- Each petal is worked into one stitch of the yellow center.
- One yellow stitch is left between consecutive petal bases.
- The spacer stitches are used only for slip stitches and positioning.
- The beginning ch 2 in the yellow center does not count as a stitch.
- Keep the yellow center fairly firm so it stays flat.
- Do not pull the white petal stitches too tightly. The petals need enough room to spread naturally.
- All 12 petals are made with the same stitch sequence.
Step-by-Step Instructions
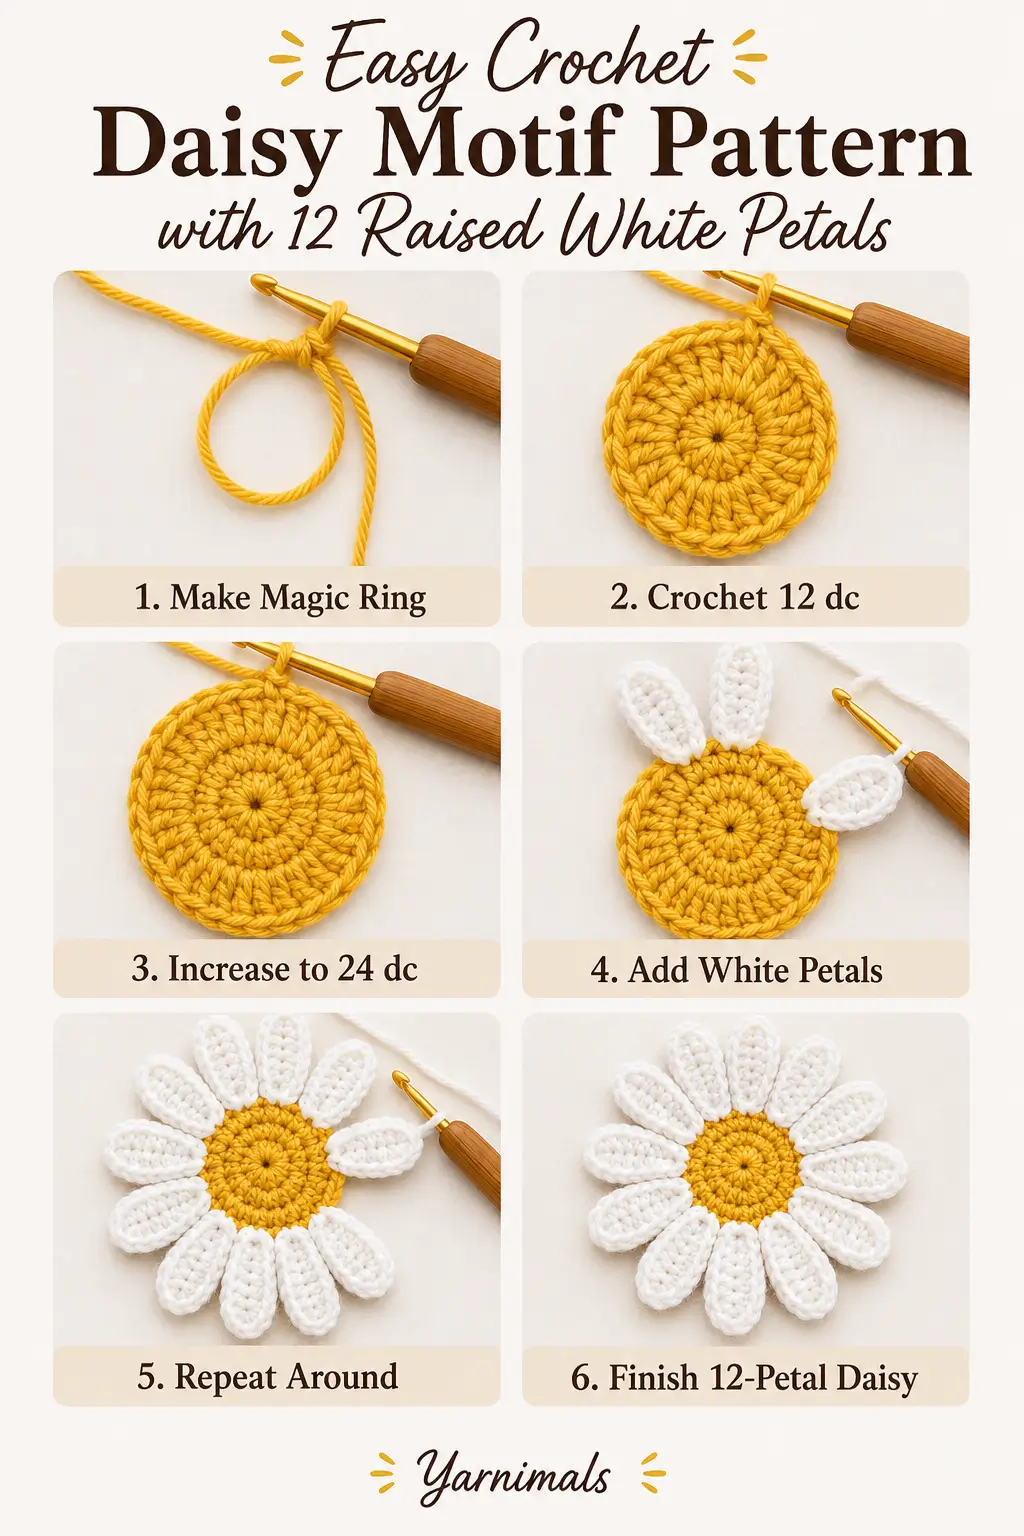
Part 1: Crochet the Yellow Center
Using golden-yellow yarn, make a magic ring.
Round 1
Ch 2.
Work:
12 dc into MR
Pull the magic ring firmly closed.
Join with sl st to the first dc.
12 dc
The beginning ch 2 does not count as a stitch.
Your center should form a small flat circle.
Part 2: Increase the Center
Round 2
Ch 2.
Work:
2 dc in every st around
Repeat in all 12 stitches.
Join with sl st to the first dc.
24 dc
Fasten off the yellow yarn.
Weave the yellow starting tail securely into the back of the center.
Do not weave the final yellow tail directly through the outer loops where the white petals will be attached.
The yellow center should now be approximately 4–5 cm / 1.5–2 inches across.
Part 3: Mark the Petal Positions
Before adding the white yarn, look at the 24 stitches around Round 2.
The petals will be worked into:
Stitches 1, 3, 5, 7, 9, 11, 13, 15, 17, 19, 21 and 23
The even-numbered stitches act as spacers.
This creates exactly:
12 petal positions
If helpful, place a stitch marker into every other stitch before beginning.
Part 4: Join the White Yarn
With the right side of the yellow center facing you, join white yarn with a sl st in Stitch 1.
Keep the join snug but not extremely tight.
You are now positioned for the first petal.
Part 5: Crochet Petal 1
Working entirely into the same yellow stitch where the white yarn was joined:
Ch 3
Work:
2 dc
then:
3 tr
then:
2 dc
Then:
Ch 3
Sl st into the same yellow center stitch.
Petal 1 is complete.
The complete petal sequence is therefore:
ch 3, 2 dc, 3 tr, 2 dc, ch 3, sl st in same st
The double crochet stitches shape the sides while the three treble crochet stitches create the longer rounded center of the petal.
Part 6: Move to the Next Petal
Sl st into the next yellow stitch.
This is the spacer stitch.
Sl st into the following yellow stitch.
This is the next petal stitch.
You have moved from Stitch 1 to Stitch 3.
Part 7: Crochet Petal 2
In Stitch 3 work:
ch 3, 2 dc, 3 tr, 2 dc, ch 3, sl st in same st
Petal 2 is complete.
Sl st in the next stitch for the spacer.
Sl st in the following stitch to reach the next petal position.
Part 8: Continue Around the Flower
Continue making one identical petal in every other stitch.
Use this repeat:
Petal in next designated stitch:
ch 3, 2 dc, 3 tr, 2 dc, ch 3, sl st in same st
Then:
sl st in next spacer st, sl st in next petal st
Continue until you have made:
12 petals total
Your petals should sit in Stitches:
1
3
5
7
9
11
13
15
17
19
21
23
The spacer stitches are:
2
4
6
8
10
12
14
16
18
20
22
24
Part 9: Complete Petal 12
Work the final petal into Stitch 23:
ch 3, 2 dc, 3 tr, 2 dc, ch 3, sl st in same st
Sl st into Stitch 24.
Then join with sl st at the base of the first petal.
Fasten off, leaving a tail approximately 10–12 cm long.
You should now have exactly:
12 white petals
Part 10: Shape the Petals
Place the flower flat with the right side facing upward.
Use your fingers to separate the petals gently.
Each petal should have:
- a narrow base
- rounded sides
- a slightly longer center
- a soft raised texture
- an individual shape rather than blending completely into the next petal
The petals may overlap slightly at their lower edges. This is normal and helps create the full daisy appearance.
Part 11: Weave in the White Yarn Ends
Turn the flower over.
Thread the white yarn tail onto a yarn needle.
Weave through several white stitches near the petal bases.
Change direction at least once before trimming the yarn.
Do not carry the tail across the open back of the yellow center because it may become visible from the front.
Part 12: Block the Daisy
Blocking is optional but especially useful if the petals twist after crocheting.
Lightly dampen the motif.
Lay it flat on a blocking mat.
Arrange all 12 petals evenly around the center.
Gently straighten each petal from base to tip.
Do not stretch the yellow center.
Pin only where necessary.
Allow the motif to dry completely before removing it.
Finished Design Check
Your completed daisy should have all of the following:
Yellow Center
- 1 circular center
- golden-yellow yarn
- Round 1: 12 dc
- Round 2: 24 dc
- flat rather than cupped
White Petals
- exactly 12 petals
- one petal in every other yellow stitch
- one spacer stitch between petal bases
- identical stitch construction for every petal
Each Petal
Every petal contains:
- ch 3
- 2 dc
- 3 tr
- 2 dc
- ch 3
- sl st into the same base stitch
Finished Shape
The motif should be:
- round
- dimensional
- approximately 9–11 cm across
- bright yellow in the center
- white around the outside
- evenly balanced
Why the 24-Stitch Center Matters
The petal layout is based on simple stitch math.
The yellow center contains:
24 stitches
We use:
1 stitch for each petal + 1 spacer stitch
That means:
24 ÷ 2 = 12 petals
This is why the design stays evenly spaced all the way around.
If the center accidentally contains 23 or 25 stitches, the final petal spacing will not divide evenly.
Count the 24 stitches before changing to white.
Tips & Variations
For Longer Petals
If you want slightly longer petals, replace the three center treble crochets with:
3 double treble crochet stitches
The flower will become larger and more dramatic.
For Smaller Petals
Replace:
3 tr
with:
3 dc
This creates a more compact daisy.
For a Firmer Flower
Use cotton yarn and a hook approximately 0.5 mm smaller than you normally use with that yarn.
Do not make the stitches so tight that the yellow center begins to cup.
For a Softer Flower
Use a slightly larger hook.
This works nicely when daisies will be sewn onto blankets or cushions.
Change the Center Color
Try:
- mustard yellow
- pale lemon
- golden orange
- warm beige
Keep the petals white or cream for the classic daisy appearance.
Using the Daisy as an Appliqué
If you want to sew the motif onto another crochet project, leave a longer yellow or white finishing tail.
Position the flower where you want it.
Sew mainly through the yellow center and the lower portions of several petals.
Do not sew through the tips of every petal unless you want the flower completely flat.
Leaving the outer sections free preserves the dimensional look.
Using the Daisy for a Garland
Make several identical flowers.
Block every motif to the same diameter.
Thread a separate crochet chain or cord behind the upper portion of each yellow center.
Space the flowers evenly.
Do not connect the garland through the petal tips because they can stretch.
Using the Daisy for a Crochet Bag
For a floral crochet bag, make all daisies with:
- the same yarn
- the same hook
- the same 24-stitch center
- the same 12-petal layout
Block the motifs before attaching them.
This keeps the flower sizes consistent across the finished bag.
FAQ
How many petals does this crochet daisy have?
The finished motif has exactly 12 white petals. They are worked into every other stitch of the 24-stitch yellow center.
Why are my petals not evenly spaced?
Count your final yellow round. You must have exactly 24 stitches before beginning the petals. Each petal uses one stitch and the next stitch is used as a spacer.
Why is my yellow center curling?
Your tension may be too tight, or the increase count may be incorrect. Round 1 should contain 12 double crochets and Round 2 should contain exactly 24 double crochets.
Why are my petals curling?
Slight curling is normal before blocking. Gently shape the petals and lightly block the finished motif. If they curl severely, your hook may be too small or your petal tension may be too tight.
Can I use cotton yarn?
Yes. Smooth cotton is an excellent choice because it gives the yellow center clear stitch definition and helps the white petals hold their shape.
Conclusion
This easy crochet daisy motif uses a simple mathematical foundation to keep every part of the flower balanced: a 12-stitch first round, a 24-stitch yellow center, and exactly 12 raised white petals worked into alternating stitches.
Once you understand the construction, the motif is easy to repeat in matching sizes for bags, blankets, garlands, cushions, and other crochet home decor or accessory projects. Keep the classic yellow-and-white combination or experiment with your favorite flower colors while preserving the same stitch counts and petal placement.



