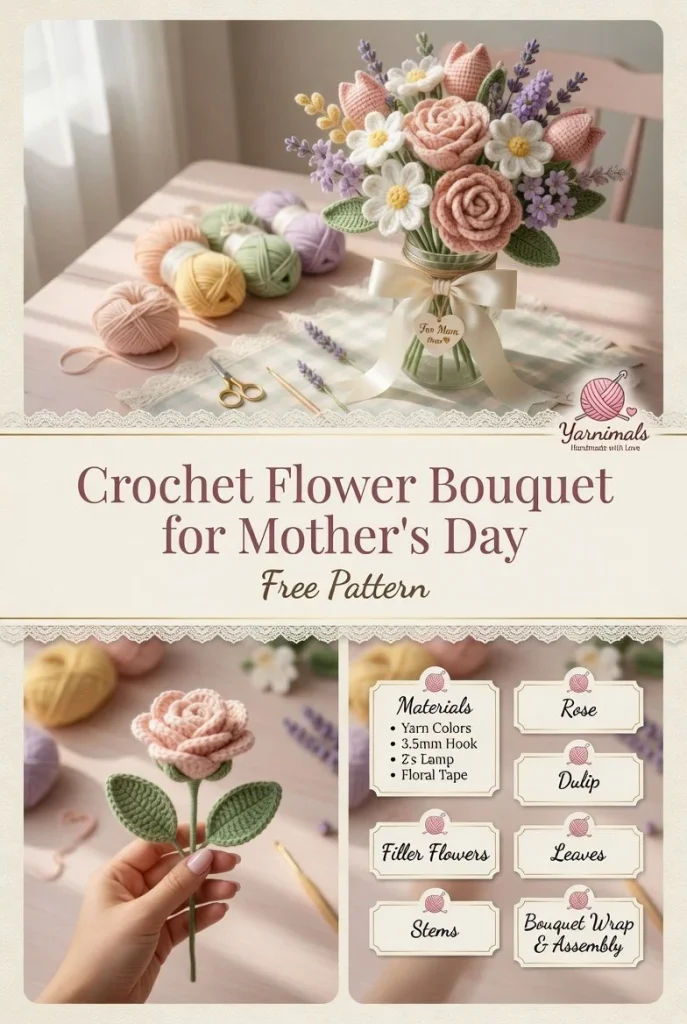
Creating a beautiful crochet flower bouquet can be a delightful way to express love and appreciation, especially for Mother’s Day. This elegant arrangement features a charming mix of roses, daisies, tulips, and small filler flowers, accompanied by lush green leaves, sturdy stems, and a lovely ribbon wrap. These easy-to-make pieces reflect a heartfelt, handmade touch that is perfect for the occasion. Let’s explore how to bring this beautiful bouquet to life with a step-by-step crochet pattern.
Materials
- Yarn in various colors (for roses, daisies, tulips, and greenery)
- Crochet hook suitable for your chosen yarn (usually 4mm to 5mm)
- Scissors
- Yarn needle for weaving in ends
- Floral wire or pipe cleaners (for stems)
- Ribbon for wrapping
- Optional: small beads or buttons for embellishments
Abbreviations
- MR: magic ring
- ch: chain
- sc: single crochet
- hdc: half double crochet
- dc: double crochet
- inc: increase
- dec: decrease
- sl st: slip stitch
Crochet Instructions
Roses
To create the roses, start with a magic ring.
- Round 1: Work 6 sc into the ring.
- Round 2: 2 sc in each stitch around (12 sc).
- Round 3: 1 sc, inc repeat around (18 sc).
- Round 4: 2 sc, inc repeat around (24 sc).
- Begin working into the back loops only for the next rounds:
- Rounds 5-7: Just work 24 sc for three rounds to create the petals.
- To finish, gently pull the magic ring tight and leave a long tail for sewing.
Daisies
Daisies bring a cheerful vibe.
- Round 1: Start with a magic ring and 8 dc into the ring.
- Round 2: Ch 2, sl st to the base of the first dc to form a petal. Repeat for each dc to create petals.
- To finish, pull the ring tight and fasten off.
Tulips
Tulips are simple yet vibrant.
- Round 1: Again, start with a magic ring and work 5 hdc.
- Round 2: Work 1 hdc in each stitch around.
- Round 3: Continue with the same stitch count until the height matches your desired tulip shape.
- Finish by weaving in ends and shaping the tulip.
Filler Flowers
These little blooms add interest and texture.
- Create small flowers with 6 sc into a magic ring.
- Fasten off and pull tight, leaving a tail for attachment to the bouquet.
Leaves
Green leaves are essential for a natural look.
- Start with a chain of 10.
- Row 1: Work 1 sc in the second chain from the hook, 1 hdc, 1 dc, (2 dc into the last chain), and work down the opposite side with 1 dc, 1 hdc, and 1 sc.
- Fasten off and leave a tail for sewing.
Stems
Using floral wire or pipe cleaners, wrap yarn around to cover and create a sturdy base for each flower.
Bouquet Wrap
To wrap the bouquet, gather the flowers and leaves, and secure the stems together with floral tape. Finish off the bouquet with a ribbon wrap for an added personal touch.
Tips for the Best Result
- While making the roses, don’t hesitate to use different shades of yarn for a more vibrant bouquet.
- Keep your tension consistent to ensure that all your flower pieces have a uniform look.
- If you want a more delicate appearance, consider blocking the finished flowers to help them hold their shape.
This crochet flower bouquet is not just a project; it’s a token of love that truly showcases the beauty of handmade crafts. If you’re looking for more floral inspiration, consider exploring this easy crochet flower pattern for a wonderful addition to your repertoire.
In conclusion, each flower you crochet adds warmth and care, making your Mother’s Day bouquet a special and cherished gift. Enjoy the process of creating something beautiful, and don’t hesitate to get creative with colors and styles!



