Introduction
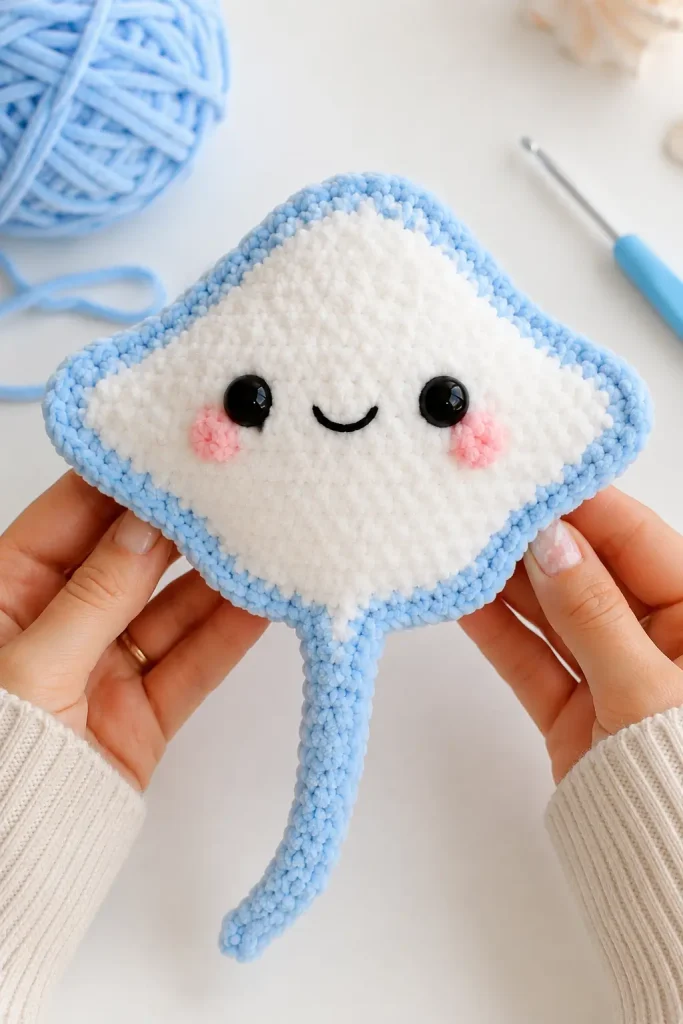
There is something so sweet about crocheting tiny ocean creatures. This little ray has that soft, handmade charm that instantly makes a room feel happier, cozier, and more personal.
With its rounded plush body, gentle wings, tiny tail, and cute smiling face, this easy crochet pattern is a lovely project for relaxing with your yarn and hook. It is cheerful, playful, and just the kind of beginner crochet project that feels meaningful when finished.
Whether you make it as a small toy, a keychain charm, or a handmade gift, this amigurumi ray is sure to bring a little joy wherever it goes.
Description
This cute little ray crochet pattern creates a soft, stuffed ocean-inspired plush with a rounded center, flared wing-like edges, and a slim crocheted tail. The design looks especially charming in soft white with pastel blue edging, giving it a bright, clean, baby-friendly look. Its tiny black eyes, rosy cheeks, and stitched smile make the finished plush crochet toy feel full of personality.
This amigurumi ray is perfect for nursery decor, ocean-themed rooms, handmade collections, desk decorations, keychains, or thoughtful gifts for children and friends. Its small size makes it quick to finish, while the shaped edging gives it a special handmade detail.
Materials
- Cotton yarn, 4–5 strands
- 2.0 mm crochet hook
- Stuffing
- Scissors
- Yarn needle
- Stick-on eyes
- Yarn for facial details
- Optional blush or pink yarn for cheeks
Step-by-Step Instructions
Head
This pattern does not include a separate head section. The face is added directly to the main ray body during finishing.
Body
Step 1: Start with the Magic Ring
Form the Ring: Begin with a magic ring.
Tip: Wrap the yarn around your fingers to form a loop, insert the hook, and pull a loop to begin stitching.
First Round: Crochet 8 single crochets (SC) into the magic ring.
Tighten the ring completely to close the center.
Finish the round with a slip stitch (SL ST) into the first stitch.
Step 2: Build the Base Rounds
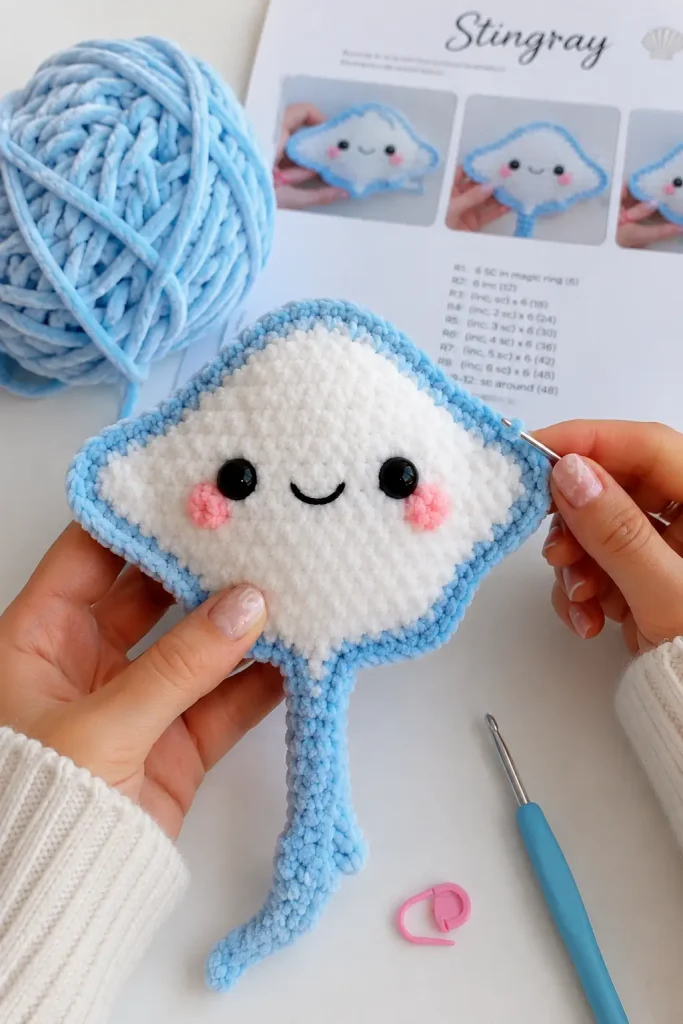
Second Round:
Chain 1 CH, then crochet 8 single crochet increases (SC INC) around.
This means you make 2 single crochets in each stitch, resulting in 16 stitches total.
Join with a slip stitch and chain 1.
Repeat this step at the end of every round.
Third Round:
Crochet 1 SC in the first stitch, then 1 SC INC in the next stitch.
Repeat this pattern for 8 groups. (24 stitches)
Fourth Round:
Crochet 3 SC, then 1 SC INC in the next stitch.
Repeat this for 8 groups. (30 stitches)
Fifth Round:
Crochet 9 SC, then 1 SC INC in the 10th stitch.
Repeat for 3 groups, totaling 33 stitches.
End the round with a slip stitch in the front loop only.
Step 3: Create the Flared Edge
Work in Front Loops Only (FLO):
In this round, work exclusively in the front loops of each stitch:
Stitch 1: 1 single crochet (SC).
Stitch 2: 2 double crochets (DC).
Stitch 3: 1 treble crochet (TRC).
Stitch 4: 1 DC + 1 SL ST in the same stitch.
Stitches 5 & 6: 1 SC in each.
Stitch 7: 2 half-double crochets (HDC).
Stitch 8: 2 DC + 1 TRC.
Stitch 9: 1 TRC + 1 double treble crochet (DTRC).
Stitch 10: 2 DTRCs.
Stitch 11: 1 triple-turn treble crochet.
Stitch 12: 1 DTRC.
Stitch 13: 2 DC.
Stitch 14: 1 HDC.
Stitch 15: 1 HDC + 1 DC.
Stitch 16: 1 DC + 1 TRC.
Mirror the Pattern:
For the remaining stitches 17–33, reverse the pattern from stitch 16 back to stitch 1.
Ensure symmetry as you crochet.
Arms
This pattern does not include separate arms. The flared side edges create the ray’s wing-like shape.
Legs
This pattern does not include legs.
Ears
This pattern does not include ears.
Tail
Step 4: Tail Design
Chain Stitches for the Tail:
Chain 10 CH from the last stitch.
Crochet 4 slip stitches (SL ST) in the first 4 chains.
Finish with 5 single crochets (SC) in the remaining chains.
Attach with a slip stitch to the base of the tail.
Face
Add Facial Details:
Use yarn to sew a cute expression onto the Little Ray.
Stick on plastic or felt eyes for a playful, finished look.
Assembly
Step 5: Completing the Second Piece
Repeat for Other Side:
Create a second identical base, but adjust the starting number of stitches to follow the instructions on the screen.
Step 6: Assemble the Little Ray
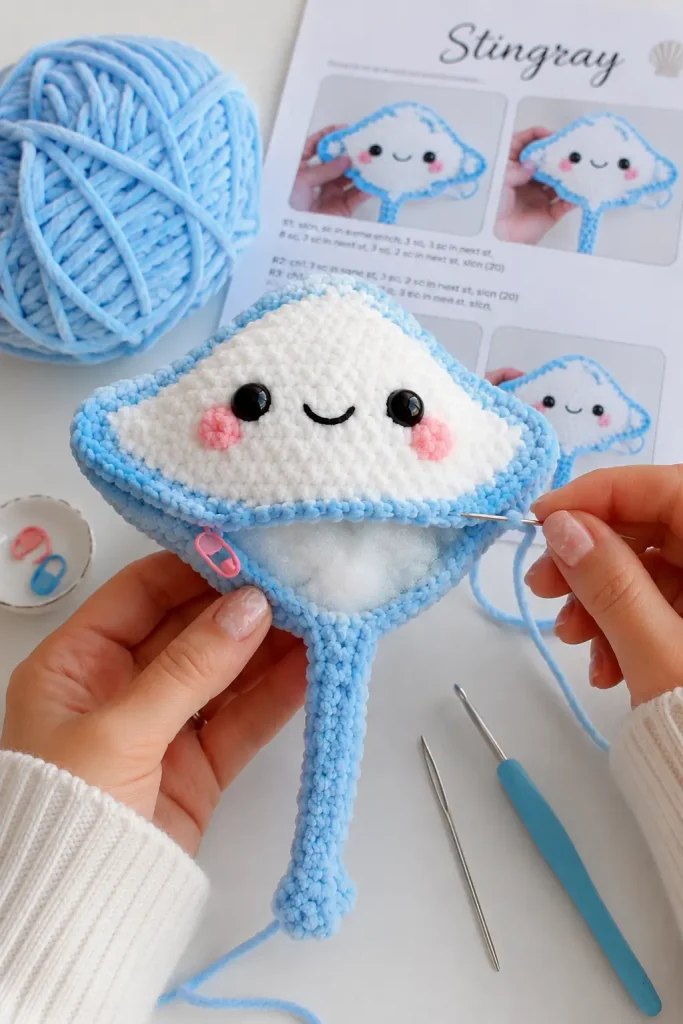
Sew Two Pieces Together:
Place the pieces back side to back side.
Use white yarn to sew through the remaining loops of the edges, stitching the inside first.
Stuffing:
Insert cotton stuffing into the center to give the Little Ray its plush form.
Seal the Ray:
Use blue yarn to continue sewing along the outer edges, ensuring the stitching is clean and durable.
Pass through entire stitches for extra strength.
Tips & Variations
Use bright colors to bring your little ray to life. Soft blue and white create a calm ocean look, while yellow, pink, lavender, or mint can make the ray feel more playful and cheerful.
For a softer plush crochet toy, choose a gentle cotton blend or soft acrylic yarn. If you want a firmer keychain version, cotton yarn is a great choice because it holds the shape well.
A smaller hook will create tighter stitches and a neater stuffed finish. A slightly larger hook can make the ray softer, but make sure the stuffing does not show through.
When stuffing the center, add small amounts at a time. The ray should look softly rounded, not overly bulky. This helps keep the flat wing shape clean and pretty.
If you are new to working in front loops only, gently pull the loops forward with your hook so they are easier to see. Keeping even tension will make the flared edge look smooth and professional.
FAQ
Is this little ray crochet pattern beginner-friendly?
Yes, it is suitable for confident beginners. The main stitches are simple, but the flared edge uses a mix of stitch heights, so it is a good way to practice shaping.
What yarn gives the softest result?
Soft cotton or cotton-blend yarn works beautifully. For a plush feel, you can also use soft acrylic yarn, especially if the ray will be used as a decorative toy.
Can I resize this amigurumi ray?
Yes. Use thicker yarn and a larger hook for a bigger plush ray, or thinner yarn and a smaller hook for a tiny keychain version.
Conclusion
This crochet Little Ray pattern is a sweet and cheerful project that adds a handmade touch to any space. With its soft body, cute face, and ocean-inspired shape, it is a lovely beginner crochet project for gifts, decor, or personal collections.
Save this easy crochet pattern for your next cozy crafting session, and enjoy making a little ray that is sure to brighten any room.



