Introduction
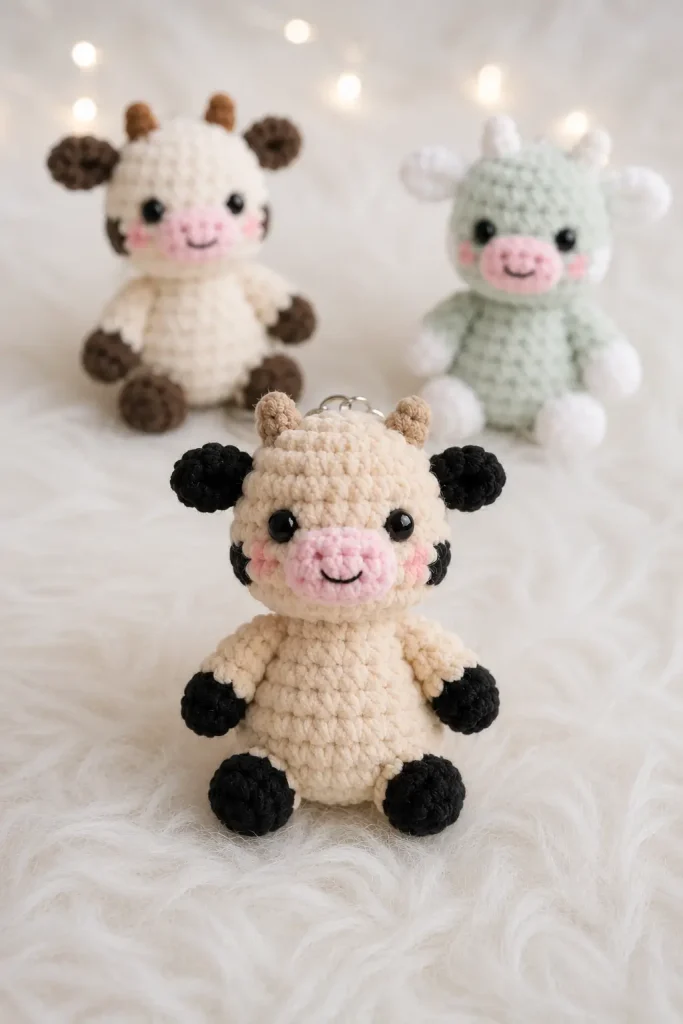
A tiny crochet cow is one of those handmade projects that feels cheerful before it is even finished. With its round plush body, sweet little snout, soft ears, tiny horns, and pocket-sized shape, this mini cow keychain is a lovely project for anyone who enjoys quick amigurumi makes.
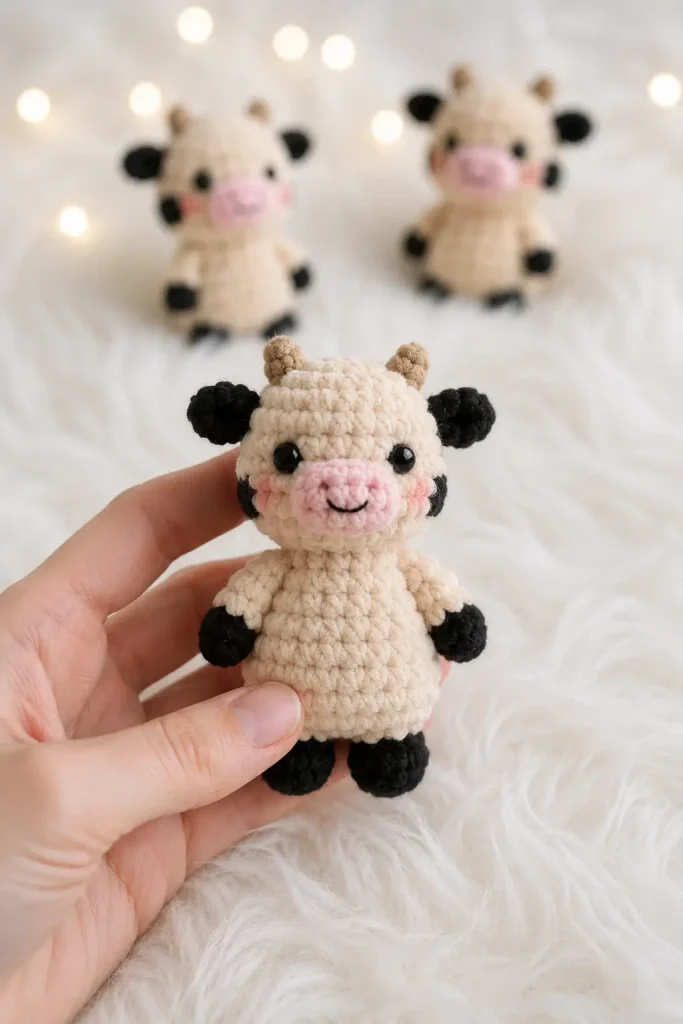
This easy crochet pattern is designed for a small plush cow, approximately 9 cm tall when made with plush yarn and a 3.5 mm crochet hook. The original pattern uses a clever construction where the body, head, and legs are worked as one continuous piece, while the snout, ears, and horns are added separately at the end.
It is a wonderful beginner crochet project for handmade gifts, bag charms, keychains, craft fair makes, or cute mini plush collections. The soft texture and tiny size make it quick to crochet, but the finished cow still has plenty of personality.
Description
This mini cow amigurumi has a soft rounded body, a sweet oversized head, small attached legs, rounded ears, tiny horns, and a cute snout. The plush texture gives it a cuddly look even though it is small enough to carry as a keychain or bag charm.
The classic version uses beige as the main body color, pink for the snout, and black for the cow spots and details. This creates a gentle farmhouse-style cow look that feels cozy, simple, and very giftable. You can also make it in cream and brown, white and black, pastel mint, soft lavender, or warm caramel tones for a more unique handmade version.
Because of its size, this plush crochet toy is perfect for using leftover yarn. It also works beautifully as a party favor, stocking stuffer, backpack charm, handmade market item, or small nursery decoration.
Materials
- Plush yarn in beige or cream for the main cow body
- Plush yarn in pink for the snout
- Plush yarn in black or dark brown for spots, hooves, and horns
- 3.5 mm crochet hook
- 10 mm safety eyes
- Polyester fiberfill stuffing
- Yarn needle
- Stitch marker
- Scissors
- Strong thread or yarn for attaching keychain hardware
- Optional keychain ring, lobster clasp, or jump ring
Finished Size
The finished cow is approximately 9 cm tall when made with plush yarn and a 3.5 mm hook. Your size may change depending on yarn thickness, hook size, and crochet tension.
Skill Level
Beginner to confident beginner.
This mini cow crochet pattern uses simple amigurumi skills, including working in the round, increasing, decreasing, making small separate pieces, stuffing, and sewing details into place.
Abbreviations
- MR: magic ring
- ch: chain
- sc: single crochet
- dc: double crochet
- inc: increase, 2 stitches in one stitch
- dec: decrease, crochet 2 stitches together
- sl st: slip stitch
- st: stitch
- sts: stitches
- R: round or row
- FO: fasten off
Pattern Notes
Work in continuous rounds unless a section says otherwise.
Use a stitch marker to mark the first stitch of each round.
The body, head, and legs are made as one main piece. The snout, ears, and horns are made separately and sewn on later.
Stuff the cow firmly enough to hold its shape, but avoid overstuffing because plush yarn can stretch.
If making this toy for a small child, embroider the eyes instead of using plastic safety eyes.
Color changes create the cow spots. Carry the unused yarn inside the work when possible to keep the outside neat.
Step-by-Step Instructions
Head and Body
Use the main beige or cream yarn.
R1: Make a magic ring and crochet 6 sc into the ring. Pull closed. (6)
R2: inc in each stitch around. (12)
R3: inc in each stitch around. (24)
R4: Work the shaping round for the legs and body base: crochet groups of sc and dc clusters evenly around to bring the stitch count to 36.
R5: Work the matching decrease-shaping round over the previous dc cluster areas to bring the stitch count back to 24.
R6–R8: sc around for 3 rounds. (24)
These rounds form the lower body and the built-in leg shape. The raised dc sections create the little plush feet without needing to sew separate legs later.
R9: dec around. (12)
R10: inc in each stitch around. (24)
R11: Repeat sc and inc evenly around to increase the head section. (36)
This begins the rounded head. Make sure your stuffing is ready before the head starts closing.
Cow Spot Color Section
Switch to black or dark brown yarn where you want the cow spot to appear.
R12: Work a mostly main-color round with a small contrasting-color section for the first spot.
R13: Expand the contrasting section slightly.
R14: Expand the contrasting section again to form the center of the spot.
R15: Continue the contrasting-color section so the spot looks rounded and organic.
Insert the safety eyes between R13 and R14, about 10 stitches apart. The original pattern places the eyes at this stage before closing the head.
R16: Begin decreasing evenly around. (30)
R17: Continue decreasing while keeping the spot section neat. (24)
R18: Continue decreasing evenly. (18)
R19: Repeat sc and dec around. (12)
Stuff the body and head firmly. Add small amounts of stuffing at a time so the cow keeps a soft rounded shape.
R20: dec around to close.
FO, leaving a tail. Close the opening securely and weave in the end.
Snout
Use pink yarn.
Ch 4.
Starting in the second chain from the hook, crochet along the chain to form a small oval shape.
Work multiple stitches into the end chain, then continue along the opposite side of the chain.
Join with a sl st.
FO, leaving a long tail for sewing.
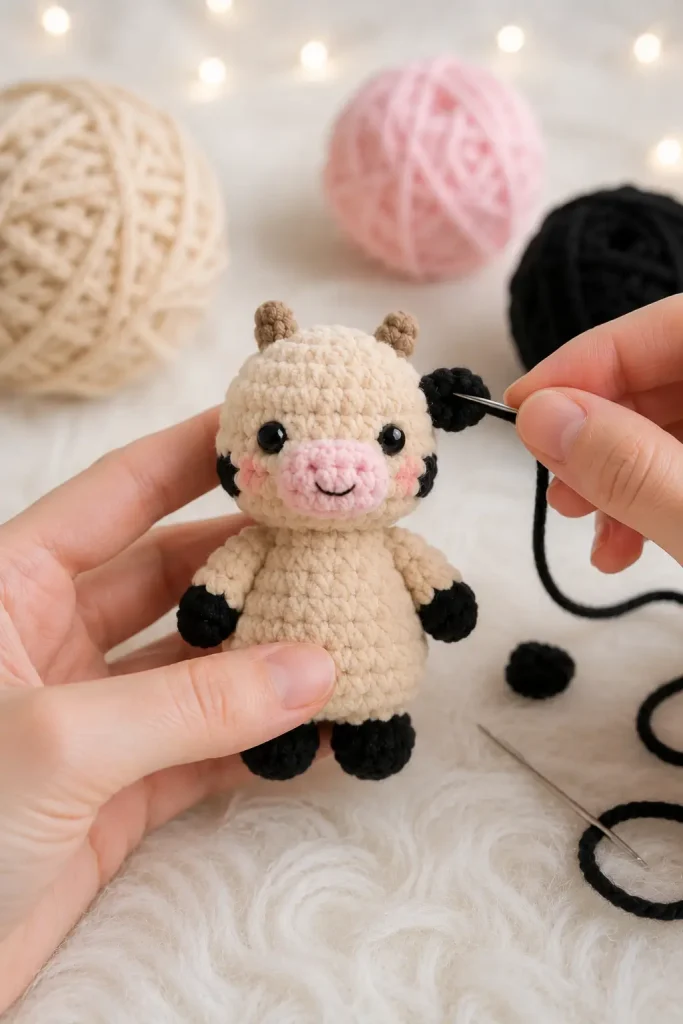
Sew the snout to the front of the head between the eye area and lower face. Keep it centered so the cow has a soft, gentle expression.
Use black yarn to embroider two tiny nostrils onto the snout.
Ears
Make 2 using the main beige or cream yarn, or use a contrasting brown color for a more unique cow.
R1: 6 sc in MR. (6)
R2: ch 1, turn, increase across to make the ear wider.
Fold the ear slightly and join the edges with a sl st.
FO, leaving a long tail for sewing.
Sew the ears to both sides of the head. Place them around the upper head area, slightly outward from the eyes. The original pattern places the ears near the upper rounds of the head, spaced a few stitches away from the eyes.
Horns
Make 2 using black, dark brown, or cream yarn.
Ch 3.
Starting in the second chain from the hook, work one small stitch into each chain to create a tiny horn shape.
Fold or pinch the horn slightly and join the edges with a sl st.
FO, leaving a long tail for sewing.
Sew the horns near the top of the head, between the ears. Keep them even and symmetrical.
Arms
This mini cow keychain pattern does not require separate arms. The plush shape stays simple and compact, which makes it ideal as a small keychain or bag charm.
Legs
The legs are worked directly into the main body shaping. The raised lower sections created during the early body rounds give the cow its tiny built-in feet.
For extra detail, you can use black or dark brown yarn on the lower foot areas to create a hoof effect.
Tail
This mini keychain version does not need a large tail. For a tiny optional tail:
Use beige or cream yarn.
Ch 4.
Sl st back along the chain.
FO, leaving a tail for sewing.
Attach to the back of the cow body.
For a cute finish, add a tiny black or brown yarn knot at the end of the tail.
Face
Use black yarn to embroider two tiny nostrils on the pink snout.
You can also add a small curved mouth below the snout if you want a sweeter expression.
For a softer kawaii style, add small blush stitches beside the snout using pink yarn.
If this cow is for a baby or toddler, skip safety eyes and embroider the eyes with black yarn.
Keychain Attachment
To turn your mini cow into a keychain, attach a small keyring or lobster clasp to the top of the head.
Use strong thread, yarn, or a small crocheted loop.
Secure the loop between the horns or slightly behind them.
Stitch through the plush several times so the keychain attachment is strong enough for daily use.
The source tutorial recommends attaching a ring or clasp at the top of the head with strong thread, ribbon, or a jump ring.
Assembly
Pin the snout to the face before sewing. Make sure it sits centered under the eyes.
Sew the snout securely around the edge using small stitches.
Pin both ears to the upper sides of the head. Check that they are even from the front view.
Sew the ears in place and weave the yarn tails into the head.
Pin the horns between the ears and sew them securely.
Embroider the nostrils and optional mouth.
Add the optional tail to the back of the body.
Attach the keychain hardware if desired.
Check all sewn pieces and weave in any loose ends.
Shape the finished cow gently with your hands.
Tips & Variations
Use plush yarn for the softest mini cow. The fluffy texture makes the finished toy feel cuddly even at a small size.
For a classic cow, use cream or white yarn with black spots and a pink snout.
For a warmer farmhouse style, use beige yarn with dark brown spots and a dusty pink snout.
For a pastel cow, try mint, lavender, baby blue, or pale yellow as the main color.
If your cow looks larger than 9 cm, use a smaller hook or tighten your tension slightly. Plush yarn varies by brand, so size differences are normal.
When working with plush yarn, count stitches carefully. The fluffy texture can make stitches harder to see.
Stuff slowly and evenly. Overstuffing can stretch the stitches and distort the tiny keychain shape.
Use pins before sewing the snout, ears, and horns. Small placement changes can completely change the cow’s expression.
For a no-plastic version, embroider the eyes and avoid glued-on parts.
FAQ
Is this mini cow crochet pattern beginner-friendly?
Yes. This is a beginner-friendly amigurumi project if you already know how to work in the round, increase, decrease, and sew small pieces onto a plush toy.
What yarn is best for a mini cow keychain?
Soft plush yarn gives the cutest and fluffiest result. You can also use cotton or acrylic yarn for a smaller, firmer keychain.
Can I make this cow bigger?
Yes. Use thicker yarn and a larger hook to make a bigger plush cow. Keep in mind that you may need larger safety eyes to match the new size.
Can I make it without safety eyes?
Yes. Embroidered eyes are a safer option for young children and also give the cow a soft handmade look.
How do I make the keychain strong?
Use strong thread or yarn and sew through the top of the head several times. Attach the ring between or behind the horns so the cow hangs evenly.
Conclusion
This mini cow keychain crochet pattern is a sweet, quick, and charming amigurumi project for anyone who loves tiny handmade animals. With its soft plush body, cute snout, small ears, tiny horns, and pocket-sized shape, it makes a perfect gift, bag charm, keychain, or craft fair make.
Save this easy crochet pattern for your next cozy crafting session, choose your favorite cow colors, and enjoy making a tiny plush friend that is full of handmade charm.




Where can I purchase patterns without all the ads?