Introduction
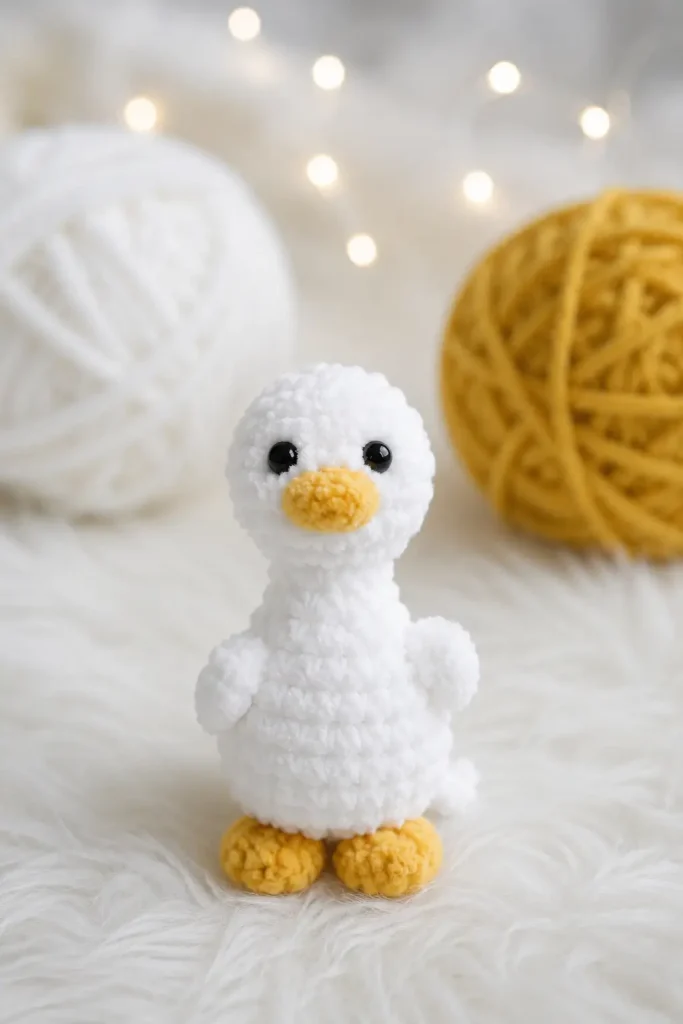
Tiny crochet animals have a special kind of magic, and this micro goose amigurumi is the perfect example. It is small, round, soft, and full of personality, with a sweet white body, tiny orange beak, little orange feet, and simple black eyes.
This easy crochet pattern is a lovely beginner crochet project if you already know how to work in continuous rounds. The best part is that the head, neck, body, wings, feet, and tail are worked as one piece, which means there is almost no sewing at the end.
It is a quick plush crochet toy to make for gifts, desk decor, market baskets, keychains, nursery shelves, or simply as a cute little handmade goose to brighten your day. The original pattern is designed as a micro goose that can be finished in under an hour and worked completely in one piece.
Description
This micro goose amigurumi has a tiny rounded head, narrow neck, plump body, built-in wings, small orange feet, and a little tail worked directly into the final round. The shape is simple but very clever, giving you a complete goose without needing to crochet and sew many separate parts.
The finished look is soft, minimal, and cheerful. White yarn creates the main goose body, while orange yarn is used for the beak and feet. The small black eyes add just enough expression to make the goose feel sweet and lively.
This one-piece amigurumi goose is ideal for small handmade gifts, pocket plush collections, spring decor, farm animal crochet sets, nursery decorations, or quick crochet projects between larger makes. Using fingering or sport-weight yarn gives it a tiny micro size, while thicker yarn can turn it into a larger plush version. The source pattern notes a finished size of about 2–3 inches when made with fingering yarn and a 2.25 mm hook.
Materials
- Fingering or sport-weight yarn in white for the main goose
- Small amount of orange yarn for the beak and feet
- 2.25 mm crochet hook, or a hook size that creates tight stitches
- Two 4 mm black safety eyes, or black thread for embroidered eyes
- Polyester fiberfill stuffing
- Stitch marker
- Yarn needle
- Scissors
- Optional craft glue if using glue-in eyes
Abbreviations
- MR: magic ring
- ch: chain
- sc: single crochet
- inc: increase, 2 sc in the same stitch
- dec: invisible decrease
- hdc: half double crochet
- sl st: slip stitch
- st: stitch
- sts: stitches
- Rnd: round
Pattern Notes
This micro goose crochet pattern is written in U.S. crochet terms.
The goose is worked in a continuous spiral, so do not join at the end of each round unless the pattern specifically says to do so.
Use a stitch marker to mark the beginning of each round.
Gauge is not essential, but your stitches should be tight enough that the stuffing does not show through.
The wings are worked directly into Round 9, and the feet and tail are worked directly into Round 13, so there are no separate wings, feet, or tail pieces to sew on.
Step-by-Step Instructions
Head
Use white yarn.
Rnd 1: Make a magic ring and crochet 6 sc into the ring. Pull closed. (6)
Rnd 2: Repeat the following around: 1 sc, inc. (9)
Rnd 3: Sc in each stitch around. (9)
Rnd 4: Sc in each stitch around. (9)
The first few rounds create the small rounded head of the goose. Keep your stitches tight and even so the head stays smooth.
Body
Continue with white yarn.
Rnd 5: Repeat the following around: 1 sc, dec. (6)
Rnd 6: Dec, 4 sc. (5)
This narrow section forms the goose’s neck. It may feel tight to work because there are only a few stitches, but this is what gives the goose its tiny neck shape.
Rnd 7: Sc in each stitch around. (5)
Rnd 8: Inc in each stitch around. (10)
This increase round begins the body section and gives the goose a soft rounded belly.
Rnd 9: Work the wings directly into this round:
First wing: Ch 3, sc into the 2nd ch from hook, hdc into the 3rd ch.
Then work: (1 sc, inc) × 2.
Second wing: Ch 3, sc into the 2nd ch from hook, hdc into the 3rd ch.
Then work 6 sc to finish the round. (12)
Rnd 10: Sc in each stitch around. (12)
Rnd 11: Repeat the following around: 2 sc, dec. (9)
Rnd 12: Sc in each stitch around. (9)
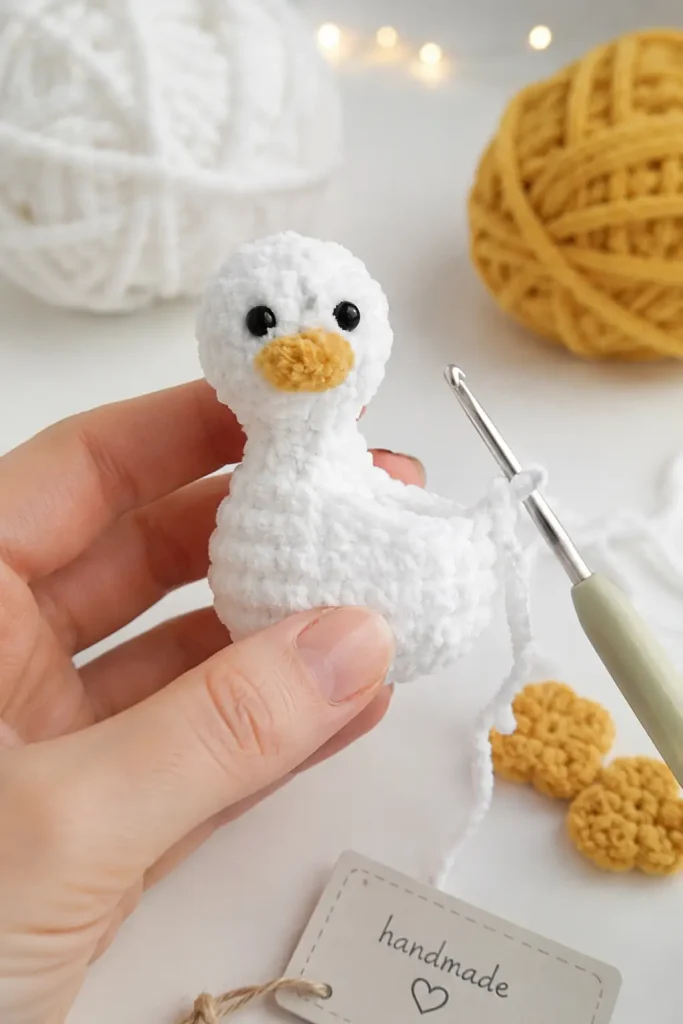
The wings are small chain-and-stitch flaps that sit on the sides of the body. They are not sewn on separately, which keeps this an easy one-piece crochet pattern.
Arms
This pattern does not include arms. The small side wings worked in Round 9 create the goose’s wing shape.
Legs
The goose does not have separate legs. The feet are worked directly into the final body round using orange yarn.
Rnd 13: Work the feet and tail as follows:
First foot: Switch to orange yarn. Ch 3, work 2 hdc, sl st into the 2nd ch from hook, sc into the 3rd ch. Switch back to white yarn.
Work 7 sc.
Second foot: Switch to orange yarn. Ch 3, work 2 hdc, sl st into the 2nd ch from hook, sc into the 3rd ch. Switch back to white yarn.
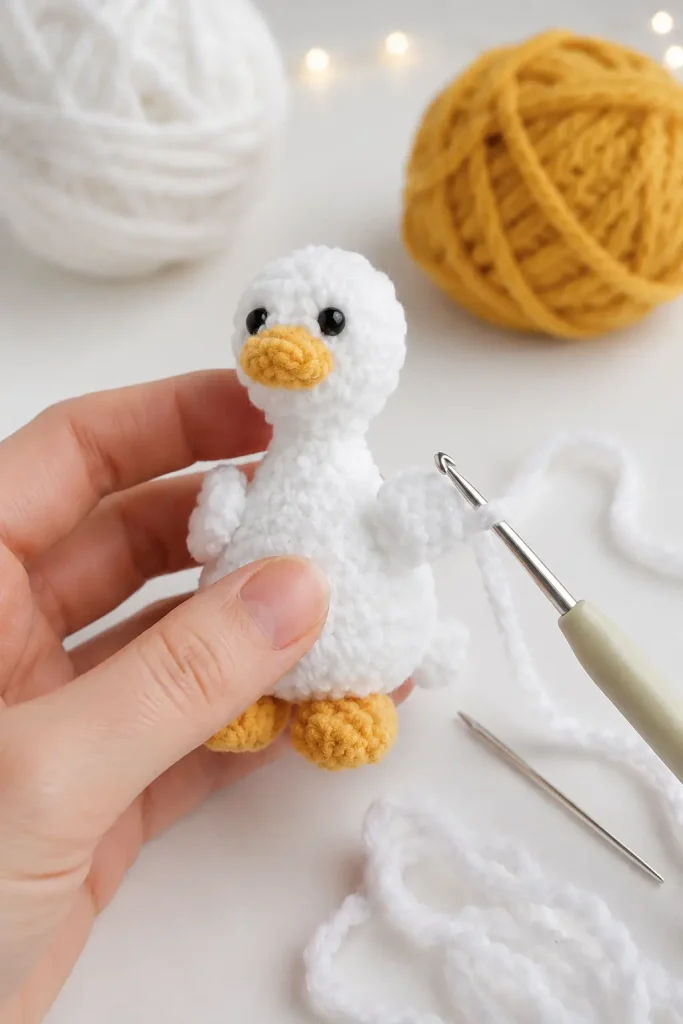
The feet should sit neatly at the bottom front of the goose. Try not to pull the orange chains too tightly, or the feet may curl inward too much.
Ears
This pattern does not include ears.
Tail
Continue in Round 13 after completing the second foot.
Tail: Sl st into the next stitch, ch 2, work 1 hdc into the same stitch as the sl st, work 1 hdc into the next stitch, ch 2, sl st into the last stitch of the round.
Leave a long white yarn tail for closing the bottom opening.
The tiny tail is built into the same final round as the feet, which keeps the construction simple and seamless.
Face
Attach the safety eyes between Rounds 3 and 4 on the head. Place them about 2–3 stitches apart on each side.
If this goose is for a young child, embroider the eyes with black thread instead of using safety eyes.
Use orange yarn to embroider the beak. Work 3–4 small horizontal stitches at the front tip of the head, below the eyes, to create a tiny flat beak shape.
Keep the beak small so the goose keeps its soft micro-amigurumi look.
Assembly
Stuff the goose through the bottom opening before closing. Add the stuffing slowly so the head and body become plump without stretching the stitches.
Do not overstuff the neck area. The narrow neck should stay naturally slim.
Thread the long white yarn tail onto your yarn needle.
Weave the yarn tail through the front loops of the remaining open stitches.
Pull snugly to close the bottom opening.
Knot securely and weave the end into the inside of the body.
If needed, use the nearby yarn tail to gently tack the tail into a slightly upright position.
Weave in all remaining ends so no tails are visible.
Shape the goose lightly with your fingers, rounding the body and adjusting the wings, feet, and tail.
Tips & Variations
Use a smaller hook than usual for your yarn if your stitches look loose. Amigurumi needs a firm fabric so the stuffing stays hidden.
The neck rounds are very small, so move your stitch marker carefully after every round. This helps prevent adding or missing stitches.
If you are new to tiny amigurumi, stuff in stages. Add a little stuffing after the body begins, then add the final stuffing before closing the bottom.
For a softer baby-style goose, use plush yarn and a larger hook. This will make the goose much bigger, so adjust the eye size to match.
For a spring decor version, make several geese in soft white, cream, pale yellow, or light gray.
For a keychain version, use cotton yarn for a firmer shape and attach a small keyring to the top of the body.
For baby-safe handmade gifts, embroider the eyes and avoid glue or plastic parts.
FAQ
Is this micro goose amigurumi beginner-friendly?
Yes. This is a beginner-friendly amigurumi pattern for crocheters who can work in continuous rounds, increase, decrease, and follow small stitch counts. The wing, foot, and tail rounds need a little extra attention, but the construction is still simple.
How big is the finished goose?
With fingering-weight yarn and a 2.25 mm hook, the finished goose is about 2–3 inches tall. Using thicker yarn will make a larger goose.
Can I use thicker yarn?
Yes. Sport, DK, worsted, or plush yarn can be used, but the finished size will change. If you use thicker yarn, choose a hook that creates tight stitches and use larger safety eyes or embroidered eyes.
Can I make this goose without safety eyes?
Yes. Embroidered eyes are a great choice, especially if the goose is intended for babies or young children.
Why is this called a one-piece crochet pattern?
The head, neck, body, wings, feet, and tail are all worked as part of the same crochet piece. The only finishing steps are stuffing, closing the bottom, adding eyes, and embroidering the beak.
Conclusion
This micro goose amigurumi is a sweet little project with clever one-piece construction and a charming finished shape. From the tiny rounded head to the built-in wings, orange feet, and little tail, every detail works together to create a cheerful handmade goose without complicated sewing.
It is a wonderful easy crochet pattern for quick gifts, pocket plush collections, spring decor, or relaxing weekend crafting. Save this beginner crochet project for your next cozy yarn session and enjoy making a tiny goose that fits right in the palm of your hand.




Thank you so much I will definitely do it lovely goose and the others you are amazing not everyone like to share patterns .