Daisy Pond Frog Amigurumi Crochet Pattern
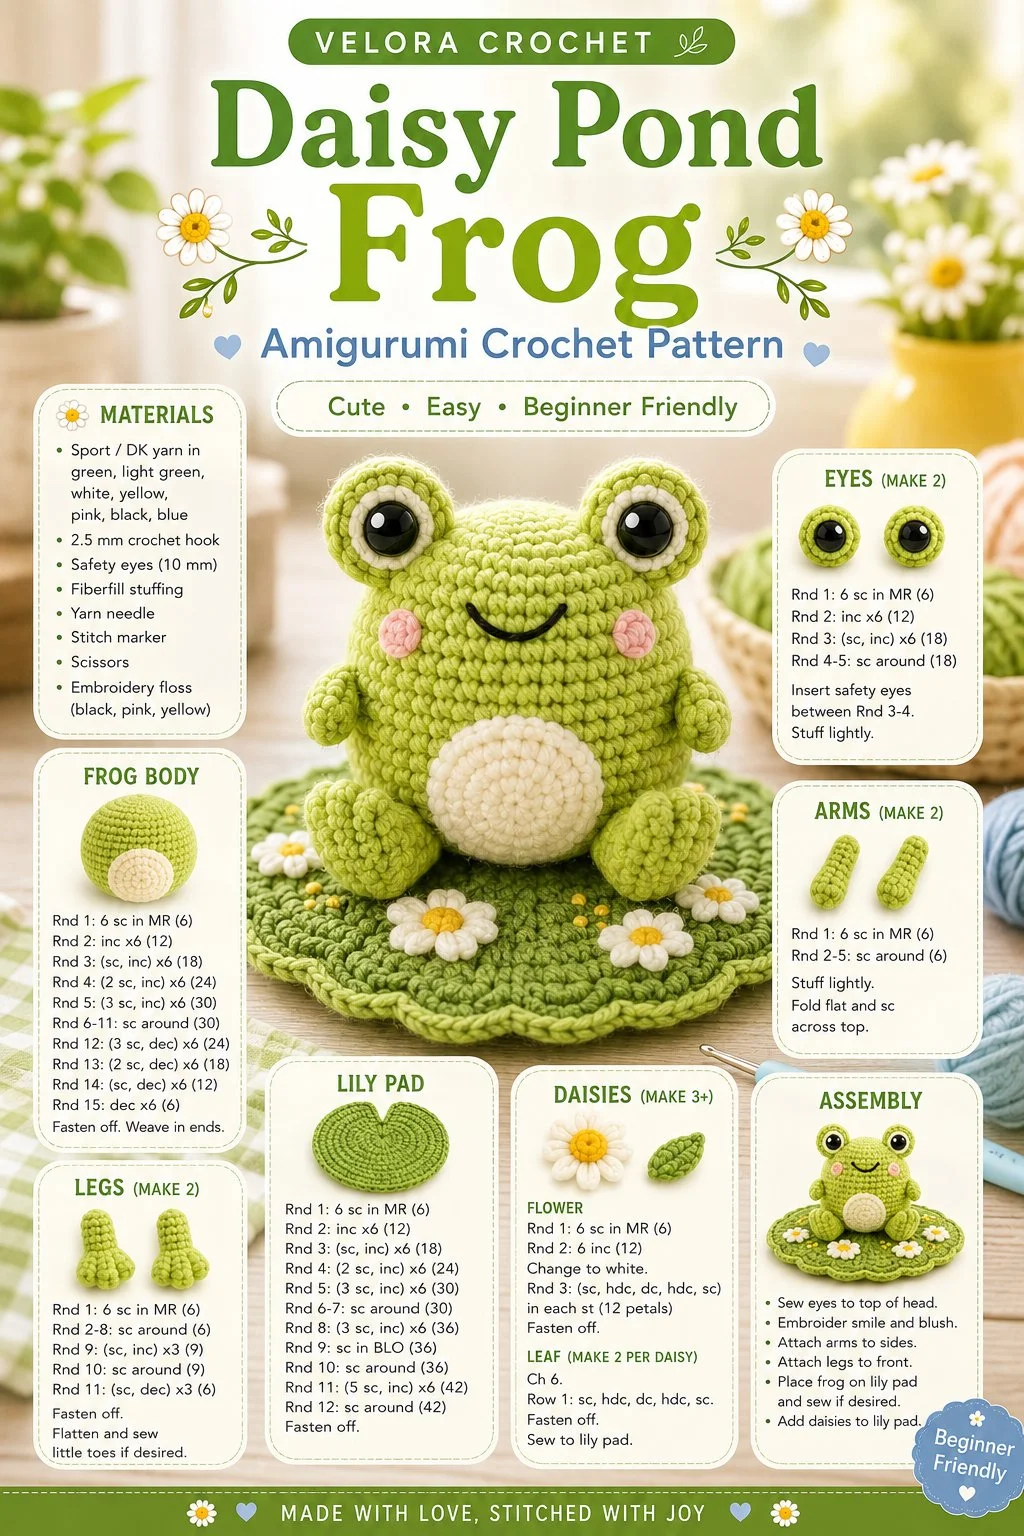
Bring a touch of whimsy to your crochet collection with this delightful pattern featuring a cheerful frog perched on a flat lily pad surrounded by cute daisies. This little handmade character is perfect for anyone looking to add a splash of nature-inspired charm to their home. Easy to construct from simple shapes and repetitive flower details, this project is a joy for crocheters at any skill level.
Materials
- Worsted weight yarn in green (frog body)
- Worsted weight yarn in yellow (lily pad)
- Worsted weight yarn in white (daisy petals)
- Worsted weight yarn in yellow/orange (daisy centers)
- 3.5 mm (E) crochet hook
- Fiberfill stuffing
- Safety eyes or black yarn for eyes
- Tapestry needle
- Scissors
- Stitch markers (optional)
Abbreviations
- MR: magic ring
- ch: chain
- sc: single crochet
- inc: increase
- dec: decrease
- sl st: slip stitch
Frog Body
- Round 1: Start with a MR, and make 6 sc into the ring. (6)
- Round 2: Inc in each stitch around. (12)
- Round 3: *Sc in the next stitch, inc in the next stitch; repeat from * around. (18)
- Round 4-7: Sc in each stitch around. (18)
- Round 8: *Sc in the next stitch, dec in the next stitch; repeat from * around. (12)
- Round 9: Dec around. (6)
- Stuff the body firmly.
Eyes
- Using safety eyes: Place them securely between Rounds 4 and 5, approximately 4 stitches apart.
- If using yarn: Create two small circles with a MR containing 6 sc, then sew them onto the head above the mouth.
Arms
- Make 2:
- Round 1: Start with a MR, and make 5 sc into the ring. (5)
- Round 2-3: Sc in each stitch around. (5)
- Fasten off, leave a long tail for sewing.
Legs
- Make 2:
- Follow the same instructions as for the arms, but make the legs slightly longer (up to 4 rounds).
- Fasten off, leaving a long tail for sewing.
Lily Pad
- Round 1: Start with a MR and make 8 sc into the ring. (8)
- Round 2: Inc in each stitch around. (16)
- Round 3: *Sc in the next stitch, inc in the next stitch; repeat from * around. (24)
- Round 4: Sc in each stitch around for a flat base finish.
Daisy Details
For each daisy:
- Petals: Start with a MR, make 8 dc in the ring, sl st to form a flower.
- Center: Create a small circle using yellow/orange yarn, secure it in the center of the petals.
Face Details
For the smile: Using black yarn, embroider a happy smile below the eyes. Make sure the smile is centered, giving your frog a whimsical look.
Assembly
- Sew the arms to the sides of the frog body just below the head.
- Attach the legs at the bottom of the body.
- Position the lily pad as the base and sew the frog onto it.
- Arrange the daisies around the lily pad and sew them securely for a delightful touch of nature.
Tips for the Best Result
- Use firm tension when working on the frog body to ensure it holds its shape during assembly.
- Keep an eye on gauge to maintain consistent sizing for all elements.
- When attaching parts, take time to ensure they are symmetrically placed for a balanced look.
Wrap up this crochet project with a little cozy magic for your home! This smiling frog can be a charming gift or a unique decoration, ready to brighten any space. Why not experiment with different colors for your frog or daisies? The possibilities are endless! Happy crocheting!