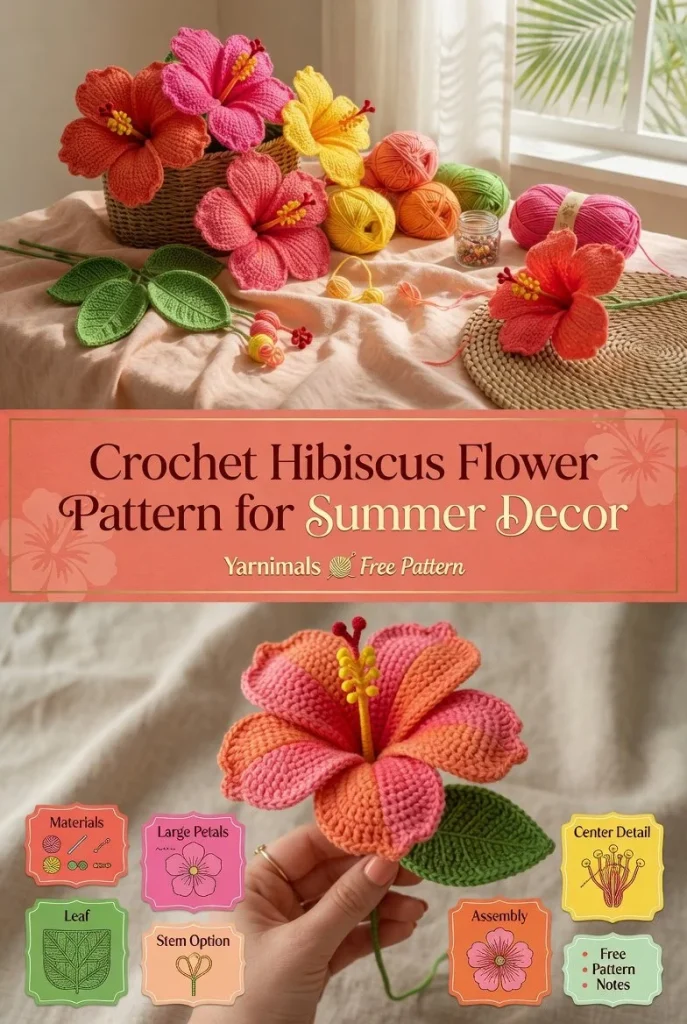
Creating a crochet hibiscus flower is an exciting way to bring a touch of tropical beauty into your home or accessories. With its wide, soft petals and long center detail, this project is perfect for brightening up any décor or adding flair to a hair clip, bag, or bouquet. As a fellow crochet enthusiast, I’m thrilled to share this easy crochet pattern that comprises simple pieces, making it accessible for beginners and delightful for seasoned crafters alike.
Materials
- Worsted weight yarn in colors of your choice (for petals and center)
- Green yarn (for the leaf)
- Size H (5.0 mm) crochet hook
- Scissors
- Tapestry needle
- Stitch marker (optional)
Abbreviations
- MR: magic ring
- ch: chain
- sc: single crochet
- hdc: half double crochet
- dc: double crochet
- inc: increase
- dec: decrease
- sl st: slip stitch
Large Petals
To start, make five large petals for the hibiscus flower. Each petal is worked in a way that creates a beautiful, soft shape.
- Make a magic ring.
- Ch 3 (counts as the first dc), then work 2 dc into the ring.
- Ch 2, and then work 3 dc into the ring.
- Repeat this step 4 more times until you have a total of 6 clusters of stitches.
- Tighten the ring and slip stitch to the top of the beginning ch 3 to join.
- Fasten off, leaving a long tail for sewing later.
Center Detail
The center of the hibiscus adds an essential touch of character.
- Start with a magic ring.
- Ch 3 (counts as the first dc), work 11 dc into the ring.
- Pull the ring tight and join with a sl st to the top of the beginning ch.
- Fasten off and leave a long tail for attaching to the flower.
Leaf
Next, create a simple leaf that complements the flower beautifully.
- Start with a chain of 10.
- In the 2nd ch from hook, work 1 sc, then 1 hdc in the next ch.
- In the following ch, work 3 dc.
- In the next ch, work 1 hdc, followed by 1 sc in the last ch.
- To create a leaf shape, work 1 sc in the next 5 chains back toward the starting point.
- With this shaping, your leaf will curve nicely when finished.
Stem Option
For those who want to incorporate a stem, it’s quite simple.
- Ch 15.
- In the 2nd ch from the hook, work 1 sc and continue working 1 sc in each ch back to the start.
- Attach it to the flower base with a slip stitch.
Assembly
Now it’s time to put all the beautiful pieces together:
- Take the large petals and arrange them in overlapping layers.
- Use the long tails from each petal to sew them together securely at the base.
- Position the center detail on top of the petals and sew it in place.
- Attach the leaf and stem firmly beneath the flower for a complete look.
Free Pattern Notes
Feel free to experiment with colors for both the flower and the leaf. For extra inspiration, you might consider checking out other creative crochet projects that could add to your summer collection!
Tips for the Best Result
- Maintain a firm tension while crocheting to ensure your petals hold their shape.
- Blocking the petals can help them lay flatter and look more polished.
- Consider using a slightly thicker yarn for a more voluminous flower.
Creating this crochet hibiscus flower is not just an enjoyable project, but it also results in a vibrant piece suited for summer. Whether you use it for decoration or as an accessory, this flower will surely make a delightful addition to your crochet repertoire.



