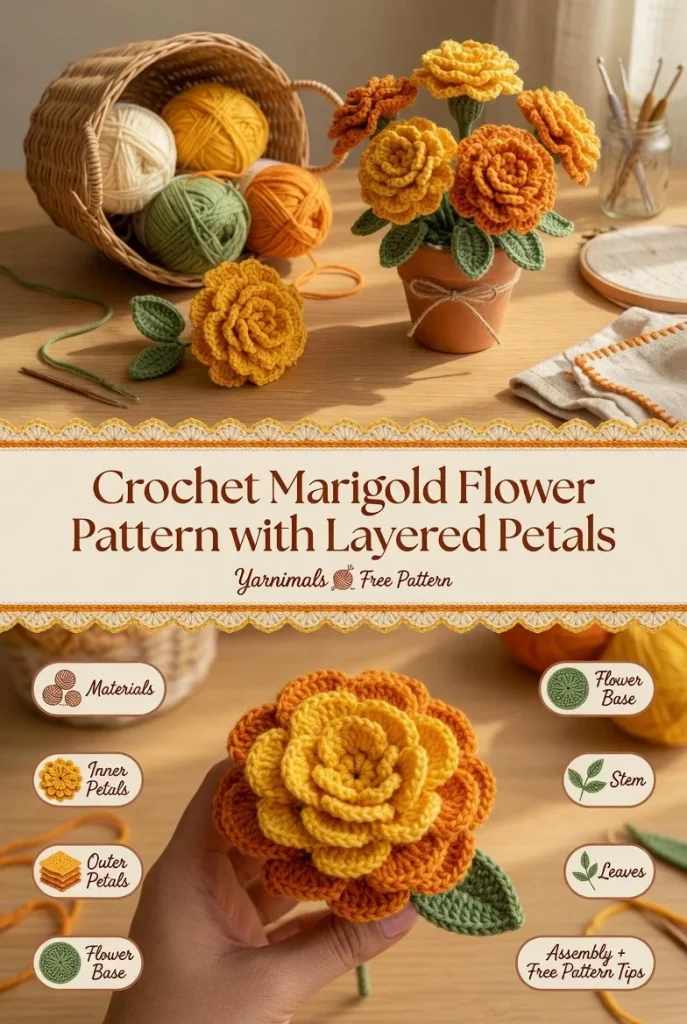
Creating a beautiful marigold flower through crochet is a rewarding project that brings warmth and brightness to any space. This rich, textured flower features layered ruffled petals and is designed to be easy to construct from repeated rows. Perfect for seasonal decor or adding a pop of color to your bouquets, this marigold will surely impress.
Materials
- Worsted weight yarn in yellow, orange, and green
- Crochet hook (size H/8 or 5 mm)
- Yarn needle
- Scissors
- Stitch marker (optional)
Abbreviations
- MR: magic ring
- ch: chain
- sc: single crochet
- hdc: half double crochet
- dc: double crochet
- inc: increase
- dec: decrease
- sl st: slip stitch
Inner Petals
To start the inner petals, create a magic ring and work the following:
- Round 1: Ch 3 (counts as first dc), 11 dc into the ring. Join with sl st to top of ch-3. (12 dc)
- Round 2: Ch 1, 2 dc in each dc around. Join. (24 dc)
- Round 3: Ch 1, dc in next, 2 dc in next repeat around. Join. (36 dc)
- Round 4: Ch 1, dc in next 2, 2 dc in next repeat around. Join. (48 dc)
Fasten off and weave in ends.
Outer Petals
Now, let’s create the layered outer petals to give our marigold its lovely ruffled look:
- Round 1: In a new magic ring, ch 3, 11 dc. Join. (12 dc)
- Round 2: Ch 1, 2 dc in next repeat around. Join. (24 dc)
- Round 3: Ch 1, dc in next 3, 2 dc in next repeat around. Join. (30 dc)
- Round 4: Ch 1, dc in next 5, 2 dc in next repeat around. Join. (36 dc)
Leave a long enough tail to sew this flower section to the base.
Flower Base
To create a sturdy base for your flower:
- Ch 4, sl st to form a ring.
- Ch 1, sc in ring, ch 4 (this counts as the first spike), sc in ring, ch 4 6 times.
- Join to first sc with a sl st.
This base will provide a lovely foundation for your petals.
Stem
If you’d like to add a stem for your flower, simply chain 15 and secure with a slip stitch to form the bottom of your flower. You can also adjust the length to your preference.
Leaves
To make the leaves, follow these steps:
- Ch 6, hdc in 3rd ch from the hook, dc in next 2 ch, hdc in last ch.
- Turn your work and repeat the same stitches on the other side of the foundation chain.
- Fasten off and leave a long tail for sewing.
Feel free to make multiple leaves to give your marigold a more lush appearance.
Assembly
Once all components are ready, it’s time to assemble your marigold. Start by sewing the inner petals to the flower base. Then, layer the outer petals over the inner ones, arranging them for the best aesthetic. Attach the stem if you’re using one, and sew the leaves to the base or stem as desired.
Tips for the Best Result
- Work with consistent tension throughout your crochet to create a polished look.
- To enhance the ruffled effect, consider lightly stretching the edges of your petals after assembling.
- If you’re new to crochet, be sure to check out tutorials on basic stitches to build your confidence before attempting more complex patterns like this marigold. You can find some great resources such as this beginner friendly crochet rose flower pattern for additional guidance.
Creating this marigold flower will not only brighten your surroundings but also provide a gratifying crochet experience. Enjoy experimenting with different colors to craft your unique floral displays!



