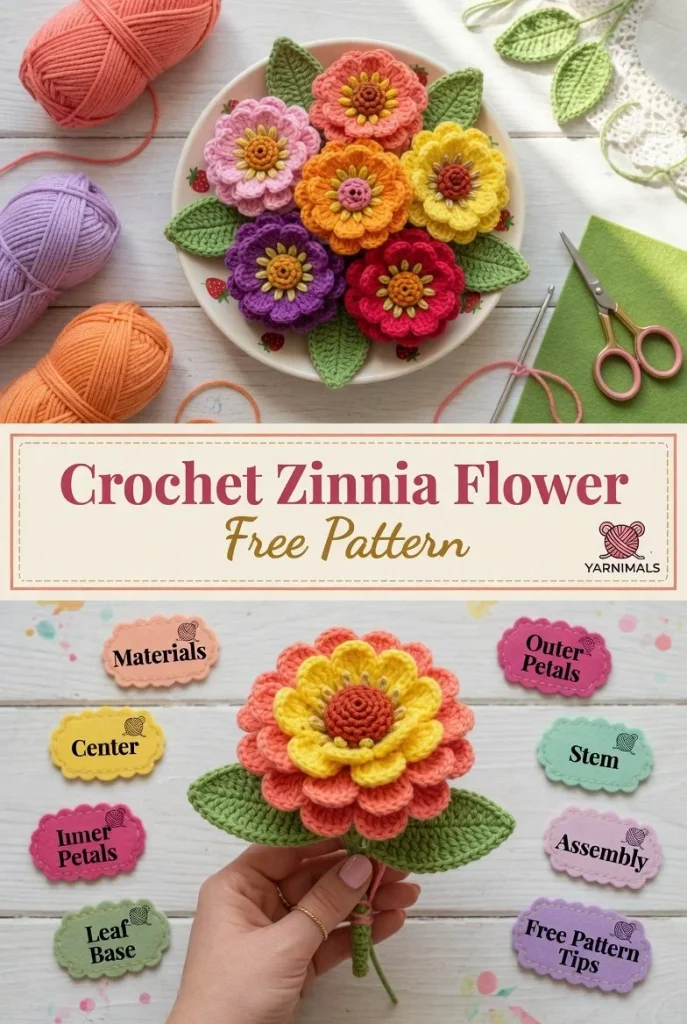
Start creating a beautiful crochet zinnia flower that can brighten any space or bouquet! This lovely project features vibrant layered petals that are simple to make, making it ideal for both beginners and seasoned crocheters. The structure of this flower includes a small center, rounded petals, and a sturdy leaf base. For those looking to add an extra touch, a stem can be included. Let’s dive into the materials and step-by-step instructions to create this delightful decoration.
Materials
- Yarn in various colors (for petals and center)
- Green yarn (for leaf base and stem)
- Corresponding crochet hook
- Scissors
- Yarn needle for weaving in ends
Abbreviations
- MR: magic ring
- ch: chain
- sc: single crochet
- hdc: half double crochet
- dc: double crochet
- inc: increase
- dec: decrease
- sl st: slip stitch
Center
Start by creating the center of your zinnia. Begin with a magic ring to keep your stitches tight. Chain one (ch 1), and then make six single crochets (sc) into the ring. Pull the ring tight and join with a slip stitch (sl st) to complete the round. This center will give your flower a lovely depth.
Inner Petals
Next, it’s time to craft the inner petals. Chain four (ch 4) and make a double crochet (dc) in the fifth chain from the hook. Continue working with dc in every chain until you have a total of eight petals. Attach these petals directly to the center by slip stitching them into place. This creates the innermost layer of your flower, adding a burst of color.
Outer Petals
For the outer petals, you will follow a similar process as the inner petals. Make another set of eight rounded petals using the same technique. However, you can vary the color or yarn texture for a beautiful layered effect. Once completed, attach these petals around the inner layer to give a fuller appearance.
Leaf Base
Now let’s create the leaf base. Start with a foundation chain of ten (ch 10). Turn your work, and in the second chain from the hook, make a single crochet (sc). Follow with half double crochets (hdc) in the remaining chains until you reach the end. For the second side of the leaf, work back with slip stitches to create a nice finishing edge.
Stem
If you’d like to add a stem, simply chain up around twelve (ch 12) and make a series of single crochets down the chain to give it a stronger feel. You can attach this stem directly to the base of the flower.
Assembly
To assemble your zinnia, position the leaf base underneath the flower. Sew them together securely with a yarn needle. If you’ve made a stem, attach it directly to the leaf base.
Tips for the Best Result
- Ensure that your tension is consistent while crocheting the petals so they maintain a uniform shape.
- Experiment with different yarn colors and textures for a unique look tailored to your style.
- When attaching pieces, take your time to sew them carefully for a clean finish.
If you’re looking for more crochet flower projects to enhance your skills, check out this beginner-friendly crochet rose flower pattern.
Bringing your crochet zinnia flower to life is not just about the final product; it’s also about the joy of crafting something handmade. This flower is perfect for decorating your home or giving as a thoughtful gift!



