Introduction
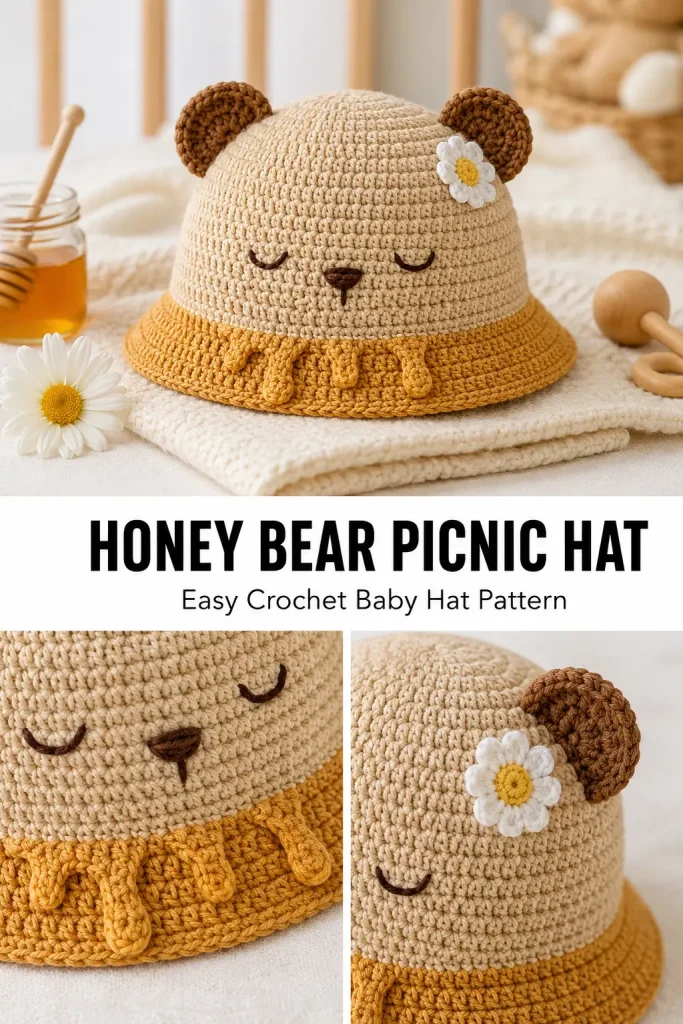
There’s something extra special about a baby hat that feels both practical and irresistibly cute. The Honey Bear Picnic Hat is designed to bring that cozy handmade charm to life, with soft bear ears, a gentle bucket-style shape, tiny honey-drip details, and a sweet sleepy face that makes the whole design feel warm and lovable.
This original crochet baby hat pattern was created to feel fresh, giftable, and easy enough to actually make. It has the kind of soft woodland sweetness that moms adore for baby showers, spring outfits, first photo sessions, and everyday wear. It’s playful without being overdone, and decorative without becoming difficult.
If you love beginner-friendly crochet projects with a little personality, this one is such a fun make. The stitches are simple, the shaping is manageable, and the finished hat looks like a boutique-style handmade piece that feels perfect for a precious little one.
Description
The Honey Bear Picnic Hat is a soft crochet baby hat with a rounded crown, a gently flared brim, two small rounded bear ears, and a simple embroidered sleepy face. The main body is worked in a warm honey-oat shade, while the brim is finished in a deeper golden honey color for contrast. Along the front brim, little rounded honey-drip accents add a playful signature detail that gives the design its unique charm.
To make the hat feel even sweeter, one small daisy accent sits near one ear, giving it a soft picnic-in-the-meadow feel. The overall look is cozy, gentle, and full of warmth. It’s perfect for baby shower gifts, handmade photo props, nursery keepsakes, or a cute beginner crochet project that still looks polished and thoughtful.
The texture is smooth and soft, the shape is comfortable and wearable, and the finished style sits somewhere between a classic baby bucket hat and a character-inspired animal hat. It’s the kind of project that stands out because it feels lovable and original, but still completely buildable.
Materials
- Worsted weight yarn in warm honey-oat for the main hat
- Worsted weight yarn in golden honey for the brim and honey-drip details
- Small amount of soft brown yarn for the ears and embroidered nose
- Small amount of black or dark brown embroidery yarn for sleepy eyes
- Small amount of white yarn for the daisy petals
- Small amount of yellow yarn for the daisy center
- 5 mm crochet hook
- 4 mm crochet hook for small accents if desired
- Yarn needle
- Stitch marker
- Scissors
- Measuring tape
Finished Size
This pattern is written for approximately 0–6 months.
Finished measurements:
- Circumference: about 15 inches
- Height from crown to brim edge: about 6 inches
Gauge
Using worsted weight yarn and a 5 mm hook:
- 8 hdc x 6 rows = about 2 inches
Gauge does not need to be absolutely exact, but it helps the hat fit more consistently.
Abbreviations
- MR = magic ring
- ch = chain
- sc = single crochet
- hdc = half double crochet
- dc = double crochet
- sl st = slip stitch
- inc = increase, 2 stitches in the same stitch
- st = stitch
- sts = stitches
- FO = fasten off
- BLO = back loop only
Pattern Notes
- The hat is worked from the top down in joined rounds.
- The ch 1 at the beginning of each hdc round does not count as a stitch.
- Join each round with a sl st to the first hdc unless otherwise stated.
- The ears and daisy are made separately and sewn on at the end.
- The honey-drip accents are worked directly onto the front edge of the brim.
- For baby items, attach all pieces securely and keep embroidery small and neat.
- If you want a slightly larger hat, add one more increase round before working the body evenly.
Step-by-Step Instructions
Head
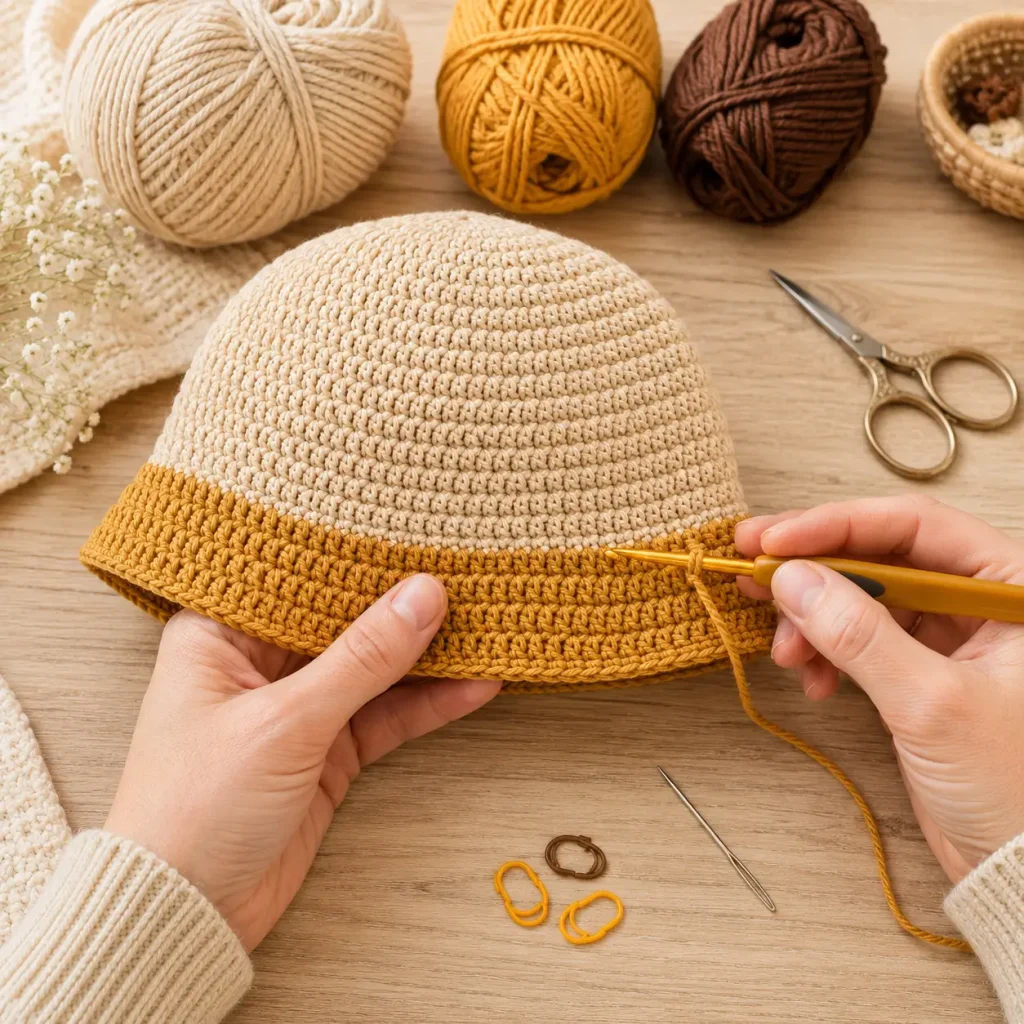
The hat begins at the crown and forms the rounded top of the bear hat.
Using warm honey-oat yarn and a 5 mm hook:
Round 1: Make a MR, ch 1, work 8 hdc into the ring. Join with sl st to first hdc. (8)
Round 2: Ch 1, 2 hdc in each st around. Join. (16)
Round 3: Ch 1, (hdc in next st, 2 hdc in next st) around. Join. (24)
Round 4: Ch 1, (hdc in next 2 sts, 2 hdc in next st) around. Join. (32)
Round 5: Ch 1, (hdc in next 3 sts, 2 hdc in next st) around. Join. (40)
Round 6: Ch 1, (hdc in next 4 sts, 2 hdc in next st) around. Join. (48)
The crown is now complete.
Body
The body of the hat gives the Honey Bear Picnic Hat its comfortable wearable shape.
Rounds 7–12: Ch 1, hdc in each st around. Join. (48 each round)
At this stage, the hat should be forming a smooth rounded cap that reaches the upper sides of the head.
Brim
Switch to golden honey yarn.
Round 13: Ch 1, (hdc in next 5 sts, 2 hdc in next st) around. Join. (56)
Round 14: Ch 1, hdc in each st around. Join. (56)
Round 15: Ch 1, hdc in BLO of each st around. Join. (56)
Round 16: Ch 1, hdc in each st around. Join. (56)
FO and weave in the end.
This creates a soft little brim that turns out gently like a baby bucket hat.
Arms
This pattern does not include arms.
Legs
This pattern does not include legs.
Ears
Make 2 with soft brown yarn and a 5 mm hook.
Round 1: Make a MR, ch 1, work 6 sc into the ring. Join. (6)
Round 2: Ch 1, 2 sc in each st around. Join. (12)
Round 3: Ch 1, (sc in next st, 2 sc in next st) around. Join. (18)
FO, leaving a long tail for sewing.
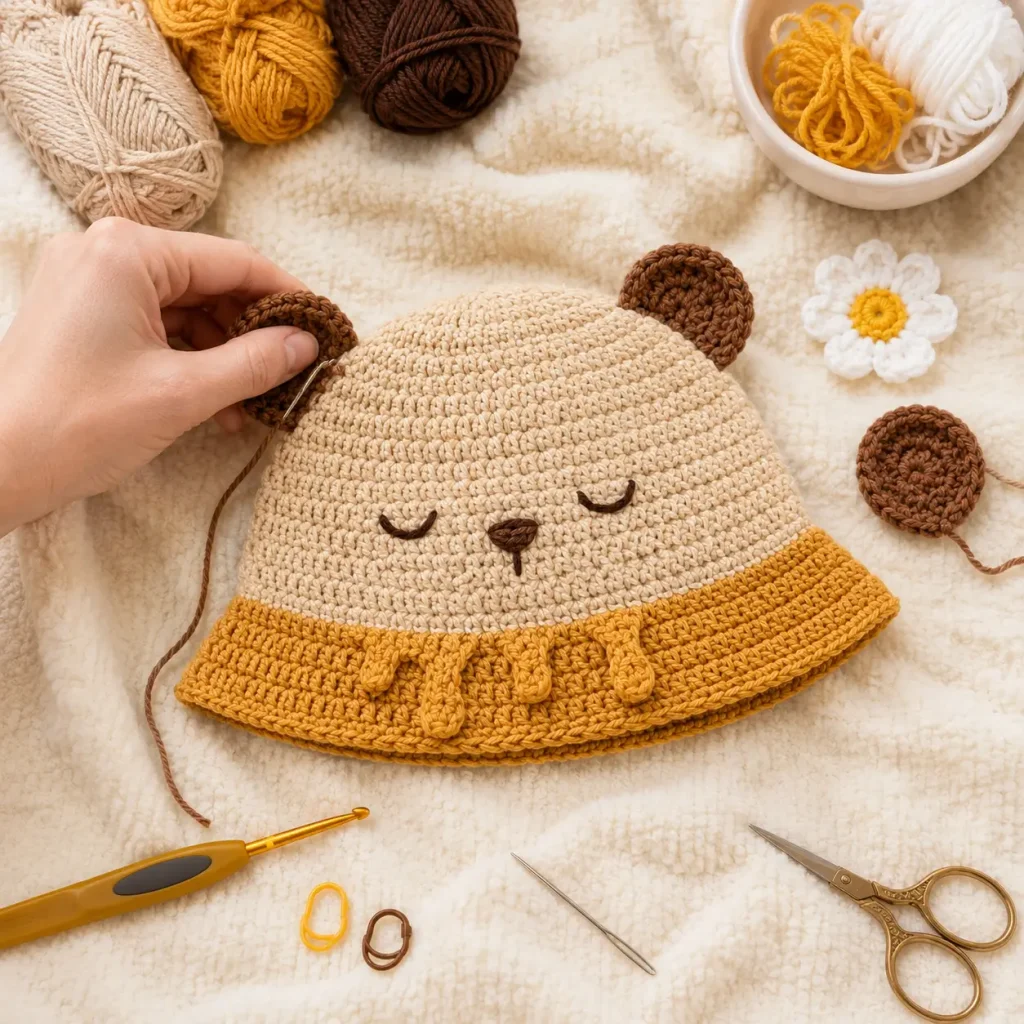
Fold each circle gently in half to form a soft rounded ear shape. Do not stitch it closed flat yet. When sewing, pinch the base slightly so the ear has a soft curved look.
Tail
This hat pattern does not include a tail.
Face
Use the front center of the hat body, slightly above the brim, for the face placement.
Sleepy Eyes
Using black or dark brown embroidery yarn, stitch two short curved sleepy eyes about 5 stitches apart. Each eye should be a small downward curve, soft and minimal.
Nose
Using soft brown yarn, embroider a small rounded triangle nose centered between and just below the eyes. Keep it tiny so the face stays sweet and baby-friendly.
Optional: Add one short vertical stitch under the nose for a very subtle mouth line if you want a little more expression.
Honey Drip Details
Use golden honey yarn.
Join yarn to the front brim edge. You will make 3 honey-drip accents spaced across the front center.
Honey Drip 1: Join yarn at the brim edge, ch 1, work 4 hdc into the same stitch, sl st into the next stitch, sl st into the next stitch.
Honey Drip 2: In the next stitch, work ch 1, 5 hdc into the same stitch, sl st into the next stitch, sl st into the next stitch.
Honey Drip 3: In the next stitch, work ch 1, 4 hdc into the same stitch, sl st into the next stitch.
FO and weave in ends.
These little rounded drips should hang softly from the front edge of the brim and give the hat its honey-inspired look.
Daisy Accent
Make 1 daisy using white yarn and a small amount of yellow yarn.
Center
With yellow yarn:
Round 1: Make a MR, ch 1, work 6 sc into the ring. Join. FO. (6)
Petals
Join white yarn to any stitch.
In each stitch around, work:
(ch 3, sl st into 2nd ch from hook, sl st into next ch, sl st into same base stitch)
Repeat in all 6 stitches to create 6 little petals.
FO, leaving a tail for sewing.
The flower should be small and soft, not oversized.
Assembly
- Place the ears near the top of the hat, one on each side of the crown. Position them slightly above the eye line so the hat keeps a cute bear shape.
- Pin the ears in place first, then sew them down securely with the long tails.
- Attach the daisy near one ear, slightly off to one side, so it looks playful and natural.
- Check the face placement again and adjust embroidery if needed before weaving in the final ends.
- Shape the brim gently with your hands so the honey-drip details sit at the front.
Tips & Variations
If you want a more neutral version, use oatmeal, beige, and cream tones instead of honey yellow.
For a sweeter spring look, make the daisy in blush pink, soft cream, or pale peach instead of white.
If your brim feels too narrow, add one more hdc round after Round 16.
If you want a slightly more ruffled brim, change Round 16 to:
(hdc in next 6 sts, 2 hdc in next st) around.
For a larger size, add one more increase round after Round 6:
(hdc in next 5 sts, 2 hdc in next st) around, then work the body as needed.
Use soft baby yarn or gentle acrylic if you want the hat to feel extra comfortable for everyday wear.
When sewing on the ears, pinch the bottom edge slightly so they stand up better and do not lie flat against the hat.
Keep all facial embroidery soft and minimal. A simple expression often looks cuter and more elegant on baby items.
FAQ
Is this baby hat crochet pattern beginner-friendly?
Yes, this is a beginner-friendly crochet pattern for anyone comfortable with working in rounds, using half double crochet, and sewing on simple embellishments.
What age does this hat fit?
As written, the pattern fits approximately 0–6 months. You can resize it by adding or removing increase rounds and adjusting the body length.
Can I make this hat without the honey-drip details?
Yes. If you want a simpler bear hat, you can skip the honey drips and keep the plain brim.
What yarn works best for this project?
Soft worsted weight yarn works very well. Choose something gentle and washable for baby wear.
Can I skip the daisy?
Absolutely. The daisy is a sweet extra touch, but the hat still looks adorable with just the ears and sleepy face.
Conclusion
The Honey Bear Picnic Hat is a soft, lovable crochet baby hat designed to feel fresh, sweet, and full of handmade charm. With its gentle bucket-hat shape, little brown bear ears, honey-drip brim, daisy accent, and sleepy face, it creates a baby accessory that feels both practical and memorable.
Whether you make it as a baby shower gift, a nursery photo prop, a spring outfit accessory, or simply as a cozy beginner crochet project, this original design has the kind of warmth that moms instantly connect with. It is cute, wearable, giftable, and just different enough to feel truly special.



