Ice Cream Bunny Amigurumi Crochet Pattern
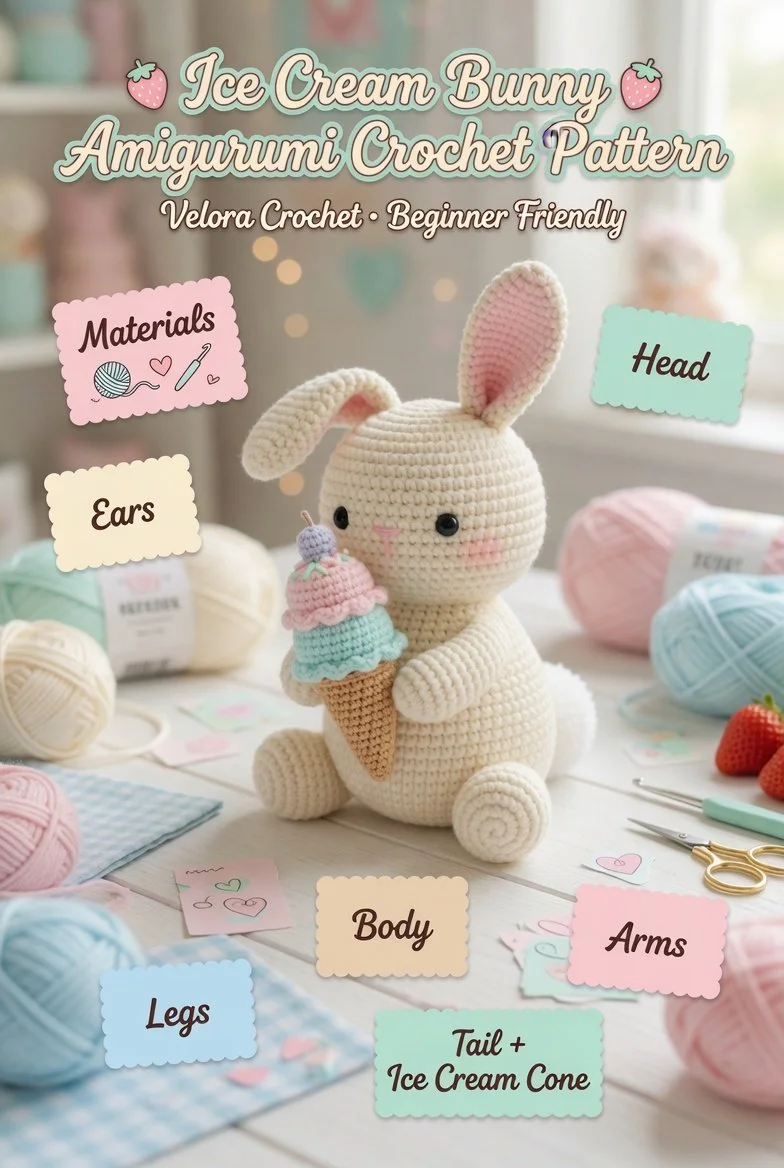
Creating a delightful bunny plush holding a tiny ice cream cone is a charming summer project that brings joy and whimsy to your crochet collection. This adorable design features a sweet bunny head, long floppy ears, small paws, a round body, and even a cute little tail. With its simple crochet ice cream cone accessory, it’s a perfect gift or a decorative piece for any crochet enthusiast. Let’s dive into the details to make your own!
Materials
- Worsted weight yarn in desired pastel colors
- Crochet hook (size G/4.0 mm recommended)
- Fiberfill stuffing
- Yarn needle
- Stitch marker (optional)
- Safety eyes or black embroidery thread for face details
Abbreviations
- MR: magic ring
- ch: chain
- sc: single crochet
- inc: increase
- dec: decrease
- sl st: slip stitch
Instructions
Head
- Start with a magic ring. Work 6 sc into the ring. (6)
- Inc in each stitch around. (12)
- Sc in next stitch, inc in next repeat around. (18)
- Sc in next 2 stitches, inc in next repeat around. (24)
- Continue to work even for 10 more rounds.
- Begin to decrease: sc in next 2 stitches, dec repeat around. (18)
- Sc in next stitch, dec repeat around. (12)
- Stuff the head firmly.
Ears (make 2)
- Ch 10.
- In the 2nd ch from the hook, sc across. (9)
- Ch 1 and turn, sc back across. (9)
- Fold the ear in half and sc along the long edge. Leave the bottom open.
- Sl st to attach to the head.
Body
- Start with a magic ring. Work 6 sc into the ring. (6)
- Inc in each stitch around. (12)
- Sc in next stitch, inc in next repeat around. (18)
- Work even for 6 rounds.
- Sc in next 4 stitches, dec repeat around. (15)
- Stuff the body lightly.
Arms (make 2)
- Start with a magic ring. Work 6 sc into the ring. (6)
- Work even for 3 rounds. Don’t stuff the arms.
- Sl st to finish and leave a long tail for sewing.
Legs (make 2)
- Begin with a magic ring. Work 6 sc into the ring. (6)
- Inc in each stitch around. (12)
- Work even for 4 rounds. Stuff slightly.
- Sl st to finish and leave a long tail for sewing.
Tail
- Start with a magic ring. Work 6 sc into the ring. (6)
- Inc around. (12)
- Stuff lightly and close.
Ice Cream Cone
You can create a delightful accessory for your bunny by making a simple crochet ice cream cone.
- Start with a brown yarn and chain 3, then work 3 sc along the chain.
- Next rows should work inc in each sc until the base is about 6 sts wide.
- Switch to a color for the ice cream and increase size until desired.
- Shape it into a rounded form and secure.
Face Details
For the face, sew on the safety eyes or embroider them using black thread. You can also use embroidery thread to stitch a small smile.
Assembly and Finishing
- Sew the head onto the body using the long tails from the arms and legs.
- Attach the arms and legs in their designated spots.
- Finally, sew the tail on the back and rest the ice cream cone in one of the paws.
Tips for the Best Result
- Ensure the head is stuffed firmly to maintain its shape, but be cautious not to overstuff. A gentle touch keeps the bunny’s charm.
- Use stitch markers to track your rounds, especially when working with the body and head.
- Experiment with different pastel colors for the ice cream or bunny to personalize your plush, making it unique.
By following this pattern, you’ll create a delightful bunny that perfectly captures the essence of summer fun. You may also enjoy exploring related crochet projects, like the cute kawaii ice cream cone amigurumi crochet pattern, for additional inspiration!