Sunny Starfish Amigurumi Crochet Pattern
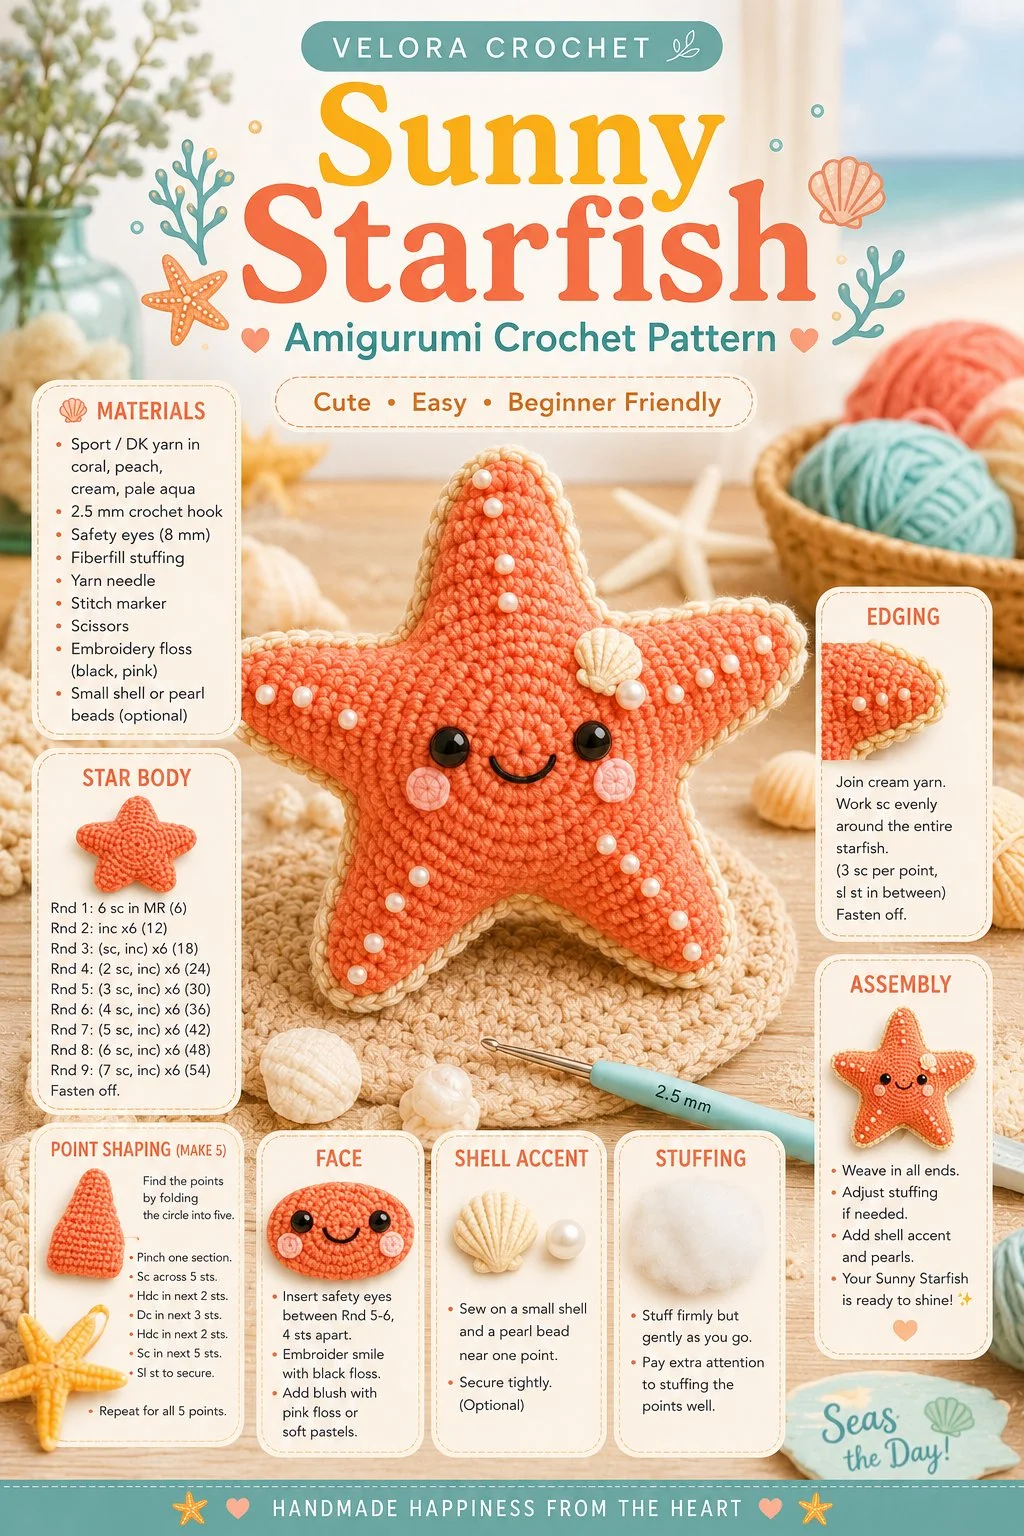
Create a delightful and sunny starfish for your collection with this charming crochet pattern. Perfect for summer decor or as a playful gift, this adorable starfish features a soft five-point body, rounded tips, and a cute embroidered face, complete with optional blush cheeks. You can add tiny shell or pearl accents for an extra touch of beachy flair. It’s a beginner-friendly project that uses simple repeated point shaping, making it an enjoyable endeavor for crocheters of all skill levels.
Materials
- Worsted weight cotton yarn in bright colors (yellow, orange, or any beachy hue)
- Crochet hook (size G/4.0 mm)
- Embroidery thread for the face
- Small beads or sequins for shell accents (optional)
- Fiberfill stuffing
- Yarn needle
- Scissors
Abbreviations
- MR: magic ring
- ch: chain
- sc: single crochet
- hdc: half double crochet
- dc: double crochet
- inc: increase
- dec: decrease
- sl st: slip stitch
Star Body
- Begin with a magic ring (MR).
- Round 1: Ch 1, sc 5 in MR (5).
- Round 2: Inc in each stitch around (10).
- Round 3: Sc 1, inc repeat around (15).
- Round 4-8: Sc in each stitch around (15).
- Round 9: Sc 1, dec repeat around (10).
- Round 10: Dec repeat around (5).
- Fasten off, leaving a long tail for gathering.
Point Shaping
- With right side facing, attach the yarn at the tip of the star body.
- Ch 1, sc in the same stitch, hdc 1, dc 1, hdc 1, sc 1 in the next stitch.
- Skip one stitch, sl st to close. Repeat this process for a total of five points, ensuring each point is evenly spaced.
Face Details
- With your embroidery thread, create two small eyes by stitching simple circles.
- For the mouth, use a backstitch to form a happy smile.
- If desired, add small blush cheeks using a tiny bit of pink yarn or embroidery thread.
Shell Accent
- To create a shell accent, crochet a small circle using a slip knot, ch 2 and 6 sc in the second ch from the hook.
- Sl st to the first stitch to close.
- Attach the shell to the starfish using a yarn needle or glue.
Stuffing
Make sure to stuff the main body of the starfish with fiberfill until it holds its shape but isn’t overstuffed. This will give it a lovely soft and squishy feel, perfect for decorating your space.
Edging
- With the matching yarn color, join with a sl st at the base of a point.
- Ch 1, sc around the edge of the star, ensuring to create a smooth finish.
- When you reach the beginning, sl st to finish.
Assembly and Finishing
Position the facial features and shell accents on the starfish as desired. Secure all pieces with a needle and yarn. Weave in any loose ends to keep your piece neat and polished.
Tips for the Best Result
- When shaping your star points, adjust the tension to keep them consistent.
- Use a stitch marker to keep track of your rounds if you find it helpful; it’s a great way to ensure even point shapes.
- Play around with colors for different seasons or themes; a vibrant orange-red starfish can be perfect for a festive look!
Creating this sunny starfish is not only a fun project but also a wonderful way to bring a bit of beach charm into your home. Make a few in various colors to brighten up your decor or gift them as sweet summertime treasures to friends. Happy crocheting!