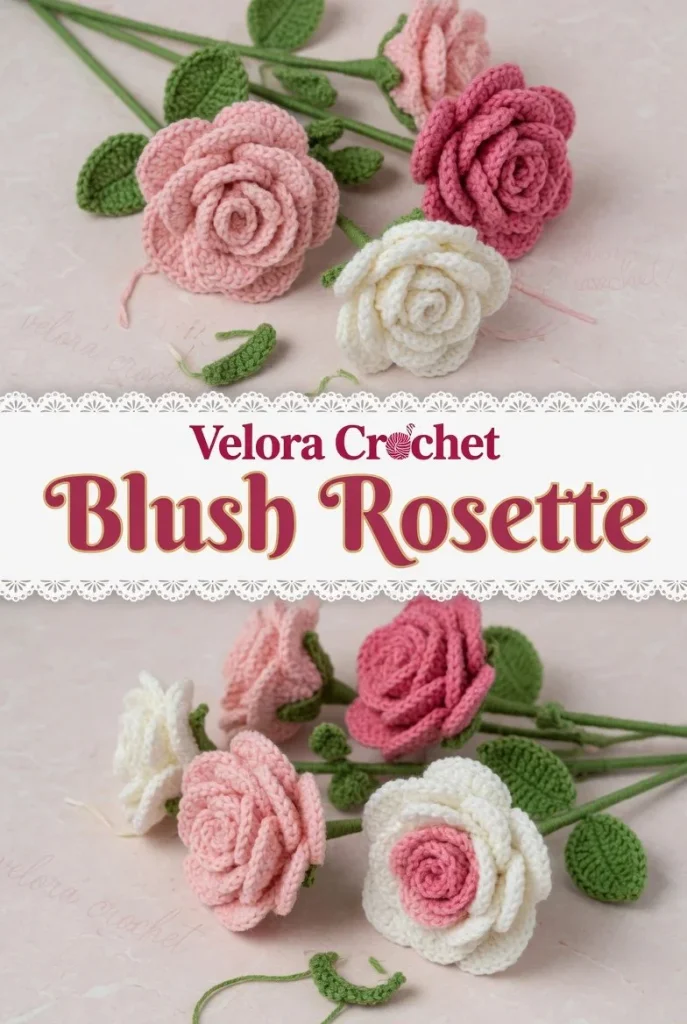
Creating beautiful, lifelike wineglass-style crochet roses is a delightful project that adds a touch of elegance to any space. With tightly spiraled, elongated petals in shades of coral pink, pastel pink, and white, these flowers are complemented by green-veined leaves, wrapped stems, and charming small buds. This premium crochet pattern will guide you step by step to create your own refined botanical bouquet.
Materials
- Coral pink yarn
- Pastel pink yarn
- White yarn
- Green yarn for leaves and stems
- Crochet hook (size appropriate for your yarn)
- Scissors
- Yarn needle
Abbreviations
- MR: magic ring
- ch: chain
- sc: single crochet
- hdc: half double crochet
- dc: double crochet
- inc: increase
- dec: decrease
- sl st: slip stitch
Rose Center
- Begin with a magic ring (MR).
- In the ring, work 6 sc. Pull the ring tight to form a small circle.
- Round 1: Work 2 sc in each stitch around (12 sc).
- Round 2: 1 sc, inc repeat from * to * around (18 sc).
- Round 3: 2 sc, inc repeat from * to * around (24 sc).
- Fasten off, leaving a long tail for sewing later.
Petal Layers
First Petal Layer
- Attach the yarn to the top of the rose center.
- Ch 5, dc in the 4th ch from the hook (this counts as the first dc), and work 2 dc in the last ch.
- Turn, and work 1 sl st in each stitch for a tight spiral.
- Repeat for 4 more petals, making a total of 5 petals in this layer.
Second Petal Layer
- Repeat the steps for the first petal layer, making 5 additional petals, but this time use pastel pink yarn for a beautiful gradient effect.
Third Petal Layer
- Attach white yarn.
- Repeat the same steps creating 5 petals matching the previous layers’ pattern.
Buds
- Begin with a MR. Work 4 sc in the ring.
- Pull the ring tight and sl st to the first sc, forming a round shape.
- Fasten off, leaving a long tail for sewing.
- Shape the bud by slightly tucking the petals inward and attach it to your desired position on the stem.
Leaves
- Using green yarn, ch 10.
- Row 1: Starting in the second ch from the hook, work 1 sc, 1 hdc, 1 dc, 1 hdc, and 1 sc.
- Continue by working back down the chain in reverse order.
- Fasten off and create a vein detail as follows.
Vein Details
- With the same green yarn, ch 6 and work a sl st in each ch back to form a vein.
- Attach the vein to the leaf with a few stitches, ensuring it looks natural.
Stems
- For the stem, use green yarn and ch as long as desired for the height of your bouquet.
- Use a tight sc stitch technique to keep the stem firm.
- Optionally, wrap the yarn around to reinforce the stem and create texture.
Assembly
- First, attach the rose center to the wrapped stem using the long tail left from the rose center.
- Sew on the layers of petals, starting from the largest to the smallest, ensuring they are staggered for a natural look.
- Finally, position the leaves around the base of the flower and secure them in place with a few stitches.
{image_template}
Tips for the Best Result
- Keep your tension consistent throughout the project for an even appearance.
- When working on the stems, make sure they are sturdy enough to hold the weight of the bloom.
- Don’t hesitate to experiment with color combinations to create unique bouquets that reflect your style.
Conclusion
This crochet pattern for wineglass-style roses is not just a fun project; it also makes for a stunning handmade gift for special occasions or a lovely decoration for your home. Consider creating a full bouquet with different colors and sizes, or even using them as embellishments on other crochet projects. Happy crocheting!



