Cute Owl Amigurumi Crochet Pattern – Forest Plush Toy Design
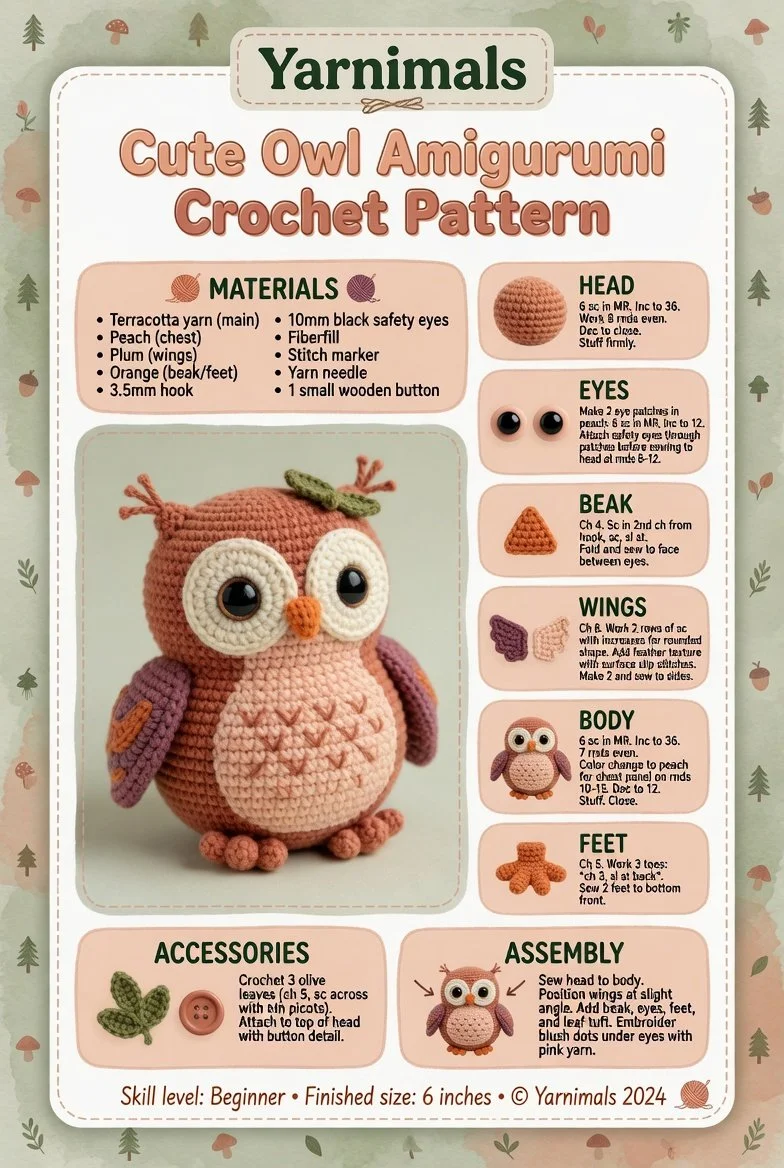
A delightful addition to your crochet collection, this charming little character promises to bring a smile to anyone who sees it. Perfect for beginners and those looking to create a special handmade gift, this plushie is a joyful project that combines simplicity and cuteness. Let’s dive into this easy crochet pattern that will have you stitching your own adorable plush toy in no time!
Materials
- Medium weight yarn in the following colors:
- Main color: Soft pastel blue
- Accent color: Light pink for details
- White for the facial features
- Crochet hook: 4.0mm (G/6)
- Fiberfill stuffing
- Safety eyes (optional, if you desire a child-friendly version, consider stitching eyes instead)
- Tapestry needle for weaving in ends
- Stitch markers to help keep track of rows
Abbreviations
- MR: magic ring
- ch: chain
- sc: single crochet
- inc: increase
- dec: decrease
- sl st: slip stitch
Instructions
Head
- Start with the main color. Create a magic ring and work 6 sc into the ring. (6)
- Inc in each stitch around. (12)
- Sc in the next stitch, inc in the next – repeat around. (18)
- Sc in the next 2 stitches, inc in the next – repeat around. (24)
- Continue working in sc until the head measures about 4 inches tall.
- Begin decreasing: Sc in the next 2 stitches, dec – repeat around. (18)
- Sc in the next stitch, dec – repeat around. (12)
- Stuff the head firmly but not too tightly.
- Finish with: Dec around until the last 6 stitches remain.
- Close using a sl st and weave in ends.
Body
- Switch back to the main color and create a magic ring.
- Work 6 sc into the ring. (6)
- Inc in each stitch around. (12)
- Sc in the next stitch, inc – repeat around. (18)
- Work sc in each stitch until the body measures about 5 inches long.
- Begin decreasing: Sc in the next stitch, dec – repeat around. (12)
- Stuff the body as you go, ensuring it’s nice and plump.
- Complete with Dec until closed, leave a small gap to attach to the head.
Arms (Make 2)
- Using the main color, create a magic ring.
- Work 6 sc into the ring. (6)
- Inc in each stitch around. (12)
- Work 5 rows of sc (about 2 inches).
- Dec until closed, stuff lightly and sew onto the body.
Legs (Make 2)
- Repeat the arm instructions, but work an extra row of sc for a slightly longer leg.
- Attach to the bottom of the body.
Ears (Make 2)
- Using the accent color, ch 6.
- Sc in the 2nd ch from hook and across. (5)
- Ch 1, turn, inc in the first and last stitch. (7)
- Ch 1, turn, and sc across. (7)
- Fasten off and leave a long tail for sewing.
Facial Features
- Using the white yarn, create small circles using a magic ring technique for eyes if not using safety eyes.
- Attach embroidered features or sew on safety eyes.
Assembly and Finishing
- Secure the head to the body gently; make sure it’s positioned nicely.
- Sew on arms and legs, observing symmetry.
- Attach the ears to the top of the head, folding them slightly for a cute effect.
- Weave in all ends and ensure all parts are secure.
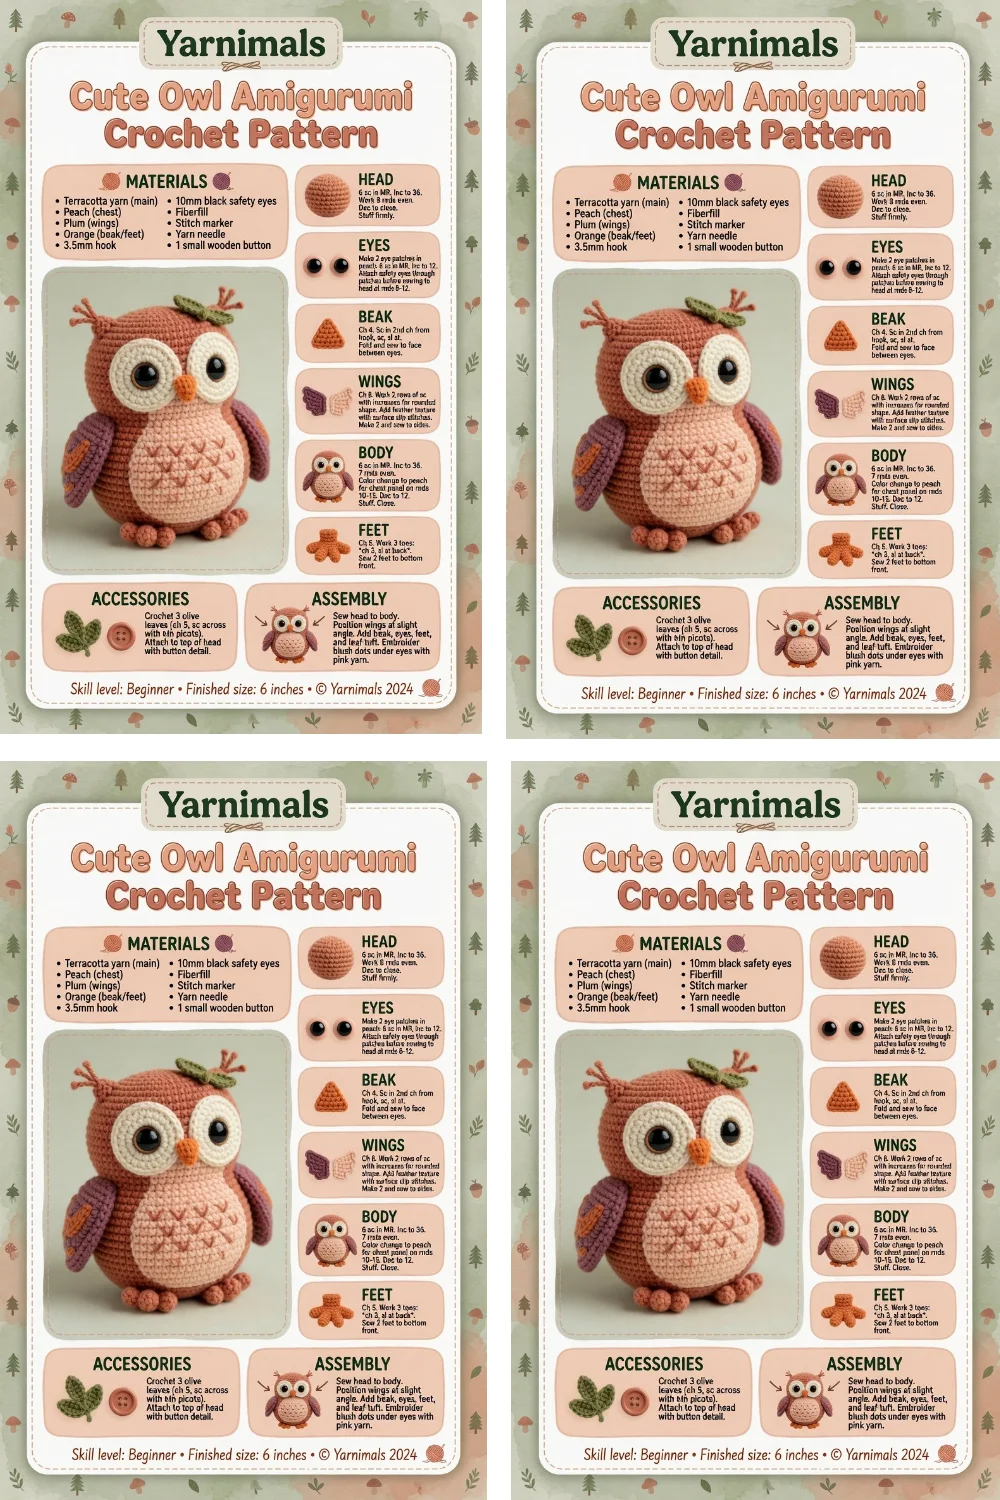
Tips for the Best Result
- Keep your tension firm to ensure the plush holds its shape well.
- When stitching the parts together, try to sew symmetrically for a balanced look.
- Use a stitch marker for keeping track of your rounds, especially when working on the head and body.
Conclusion
This charming plush toy is sure to make a delightful handmade gift or an adorable companion for any crochet enthusiast. Feel free to experiment with colors and sizes to personalize your creation. Happy crocheting! And if you’re interested in adding more cute crochet toys to your collection, check out this lovely otter crochet pattern for inspiration.