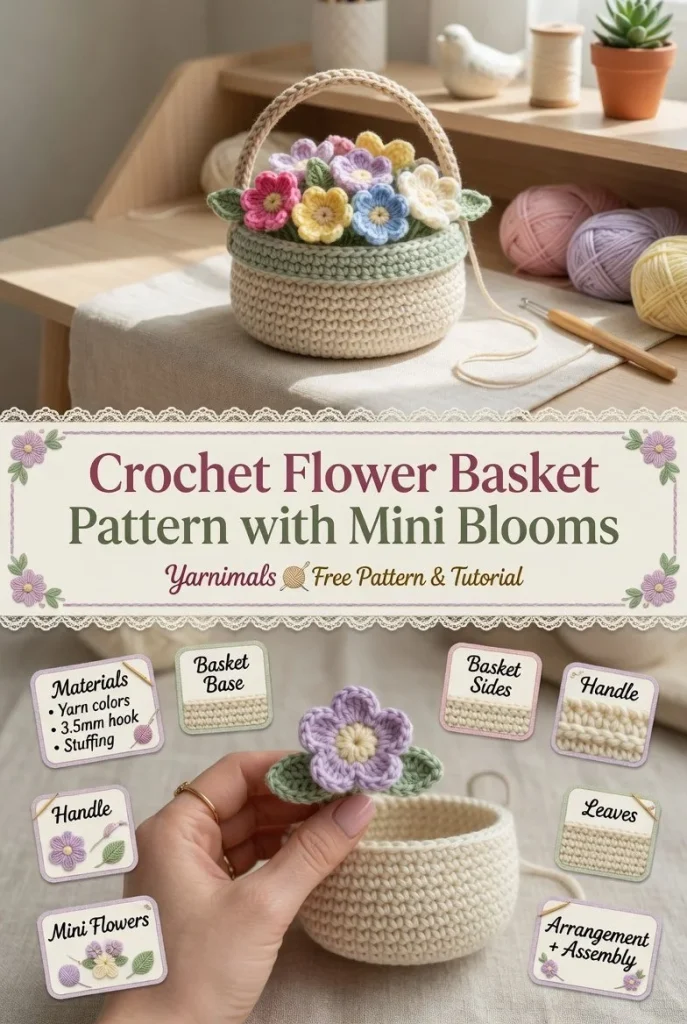
Creating a crochet flower crown is a delightful project that beautifully combines the charm of handmade creations with the joy of styling. This flexible crown design features mini flowers, small leaves, and adjustable tie ends, making it perfect for spring occasions or as a thoughtful gift. Whether you’re a beginner or an experienced crocheter, this easy crochet project is enjoyable to craft and yields a wearable accessory.
Materials
- Yarn of your choice (suggest a DK weight for a softer crown)
- Crochet hook (4mm recommended)
- Scissors
- Tapestry needle for weaving in ends
Abbreviations
- MR: magic ring
- ch: chain
- sc: single crochet
- hdc: half double crochet
- dc: double crochet
- inc: increase
- dec: decrease
- sl st: slip stitch
Mini Flowers
To create the charming flowers that adorn your crown, follow these steps:
- Start with a MR, then chain 3 (this will count as your first dc).
- Work 11 dc into the ring, join with a sl st to the top of the beginning ch 3.
- Fasten off, leaving a long tail for sewing to the crown.
These flowers can be repeated as needed to create a lovely, floral look around the entire crown.
Leaves
Leaves add a beautiful touch of greenery to your flower crown. To make each leaf:
- Create a MR, chain 4.
- Work 3 dc into the ring, chain 2, and then 3 dc into the same ring.
- Join with a sl st and fasten off, leaving a tail for sewing.
Feel free to vary the number of leaves based on your design preference.
Crown Base
To begin the crown base:
- Ch 50 (or adjust for desired fit) and join the ends with a sl st to form a circle.
- Work in rounds of sc until the base measures about 1-2 inches wide for comfort.
- Continue working, increasing gradually if necessary, until you achieve the desired length for your crown.
This base will provide a sturdy yet flexible foundation.
Ties
The ties for your crown should be adjustable for a comfortable fit:
- Ch 20 (or longer) depending on how much length you need for tying.
- Attach both ends to the ends of the crown base with a slip stitch.
This feature makes wearing and styling the crown easy and adaptable.
Joining
Once you have your flowers and leaves made, it’s time to join them to the crown:
- Sew the flowers evenly around the crown’s base using the tails left when fastening off.
- Attach the leaves in between the flowers for a balanced look.
Take your time to arrange them as you like to achieve the aesthetic you wish for.
Assembly and Finishing
After your elements are joined, weave in all ends using a tapestry needle.
For a neat finish, you might consider blocking the flowers and leaves lightly to ensure they lay flat.
Tips for the Best Result
- Check your tension: Keeping a consistent tension will ensure that all your pieces fit well together.
- Play with colors: Experiment with different yarn colors to match various outfits or seasonal themes; this adds a personal touch.
- Take breaks: When sewing on the flowers and leaves, take your time to avoid frustration and achieve a polished look.
If you’re looking for more inspiration, consider trying this easy anemone flower crochet pattern for additional flower designs!
Crafting a crochet flower crown is a fun and fulfilling project that makes for a wonderful accessory or thoughtful gift. Enjoy the process, and let your creativity shine through each flower you make.



