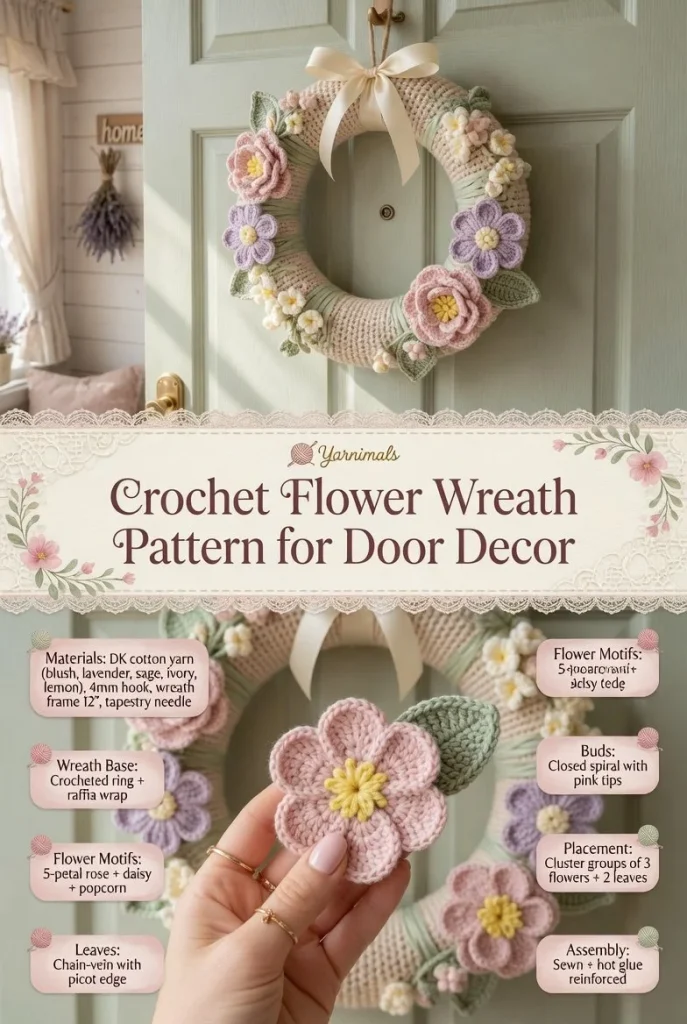
A crochet flower wreath is a charming way to bring a touch of handmade beauty to your home. This decorative project combines a simple round wreath base with a variety of colorful crochet flowers, leaves, and tiny buds, making it an ideal springtime addition to your doors or walls. The pattern is beginner-friendly, featuring repeated motifs that create a stunning effect without being overly complicated. Let’s dive into this delightful crochet project!
Materials
- Yarn in various colors (for flowers and leaves)
- Wreath base (foam or wire)
- Crochet hook (size appropriate for your yarn)
- Yarn needle
- Scissors
- Optional: embellishments like buttons or beads for added flair
Abbreviations
- MR: magic ring
- ch: chain
- sc: single crochet
- hdc: half double crochet
- dc: double crochet
- inc: increase
- dec: decrease
- sl st: slip stitch
Wreath Base
Start by creating a sturdy base for your wreath. If you’re using a foam wreath, simply wrap your yarn around it tightly, ensuring that the base is fully covered. If you’re working with a wire wreath, you can use a continuous round of single crochet to create a fabric cover.
Flower Motifs
To make the flowers, you can use a range of techniques for various styles. A popular option is to create simple five-petal flowers. Start with a magic ring, work several double crochets into the ring to form the petals, then fasten off. You might consider using an easy anemone flower crochet pattern for inspiration.
Leaves
To complement your flowers, crochet some leaves using a single or double crochet stitch. You can create leaf shapes by making a series of chains and turning them back on themselves, working back along the foundation chain for shaping. Experiment with different sizes for added depth!
Buds
For the tiny buds, make small, tight rounds using just a couple of stitches. You can even use a different technique, such as a puff stitch, to give them a raised appearance. These small details add a lovely finishing touch to your wreath.
Placement
Position your flowers, leaves, and buds around the wreath base. This is where your creativity shines—experiment with arrangements until you find a layout that you love. Use the yarn needle to attach each piece securely to the base, ensuring they’re firmly in place.
Hanging Loop
To hang your wreath, create a loop at the top using a few chain stitches. Securely attach this to the back of your wreath to ensure it holds well when hung.
Assembly and Finishing
Once all the pieces are attached, examine your wreath and add any finishing touches you feel inspired to include. This could be additional embellishments or simply a light steam blocking to shape your pieces neatly.
Tips for the Best Result
- Keep your tension even and consistent while crocheting. This is essential for the flowers and leaves to maintain a nice, uniform shape.
- Don’t be afraid to mix and match colors for the flowers—different shades can bring a wreath to life and create a vibrant atmosphere.
- Consider blocking the leaves and flowers before attaching them to give them a crisp appearance.
Incorporating this crochet flower wreath into your home decor not only brightens your space but also serves as a wonderful handmade gift for friends and family. Enjoy the creative process, and happy crocheting!



