Watermelon Chick Amigurumi Crochet Pattern
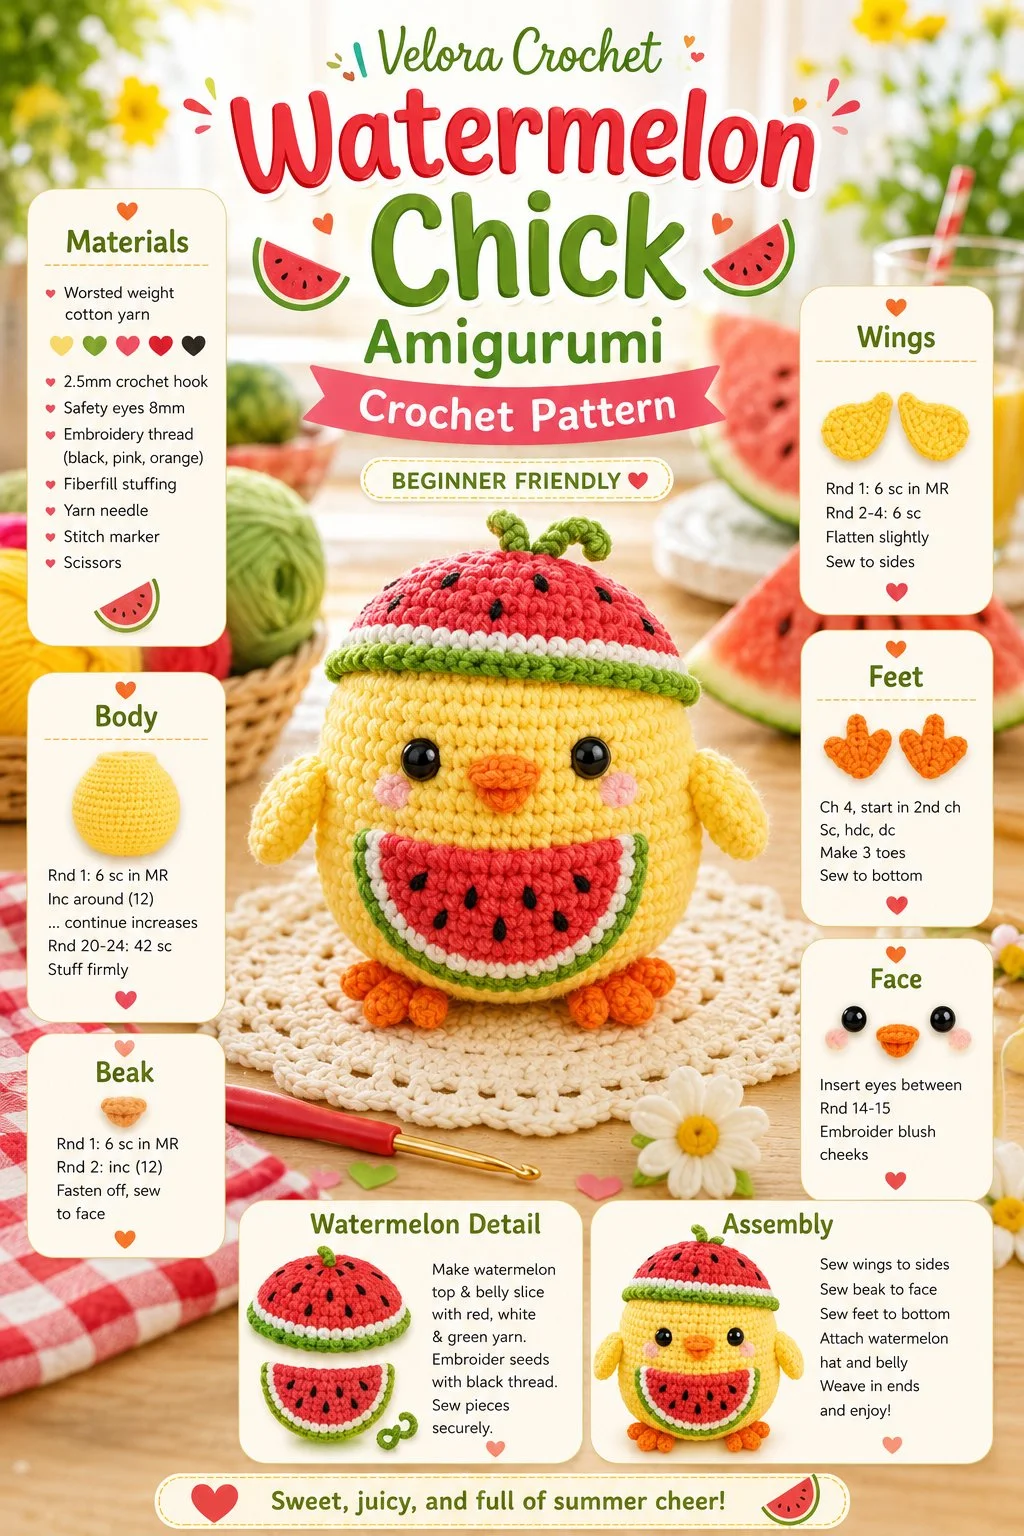
Creating a delightful crochet project is both fun and rewarding, and the cute watermelon chick amigurumi is just the right project for summer crafting. This charming little character features a round yellow body, a tiny beak, small wings, orange feet, and a playful watermelon slice hat. It’s perfect for gifting or simply brightening up your decor.
Materials
- Yellow yarn (for body)
- Orange yarn (for beak and feet)
- Green yarn (for watermelon rind)
- Pink yarn (for watermelon flesh)
- Black yarn (for seeds)
- Crochet hook (size as recommended for your yarn)
- Fibrefill stuffing
- Yarn needle
- Stitch marker
Abbreviations
- MR: magic ring
- ch: chain
- sc: single crochet
- inc: increase
- dec: decrease
- sl st: slip stitch
Body
Start by creating the round yellow body of the chick. Begin with a magic ring and work the first few rounds in single crochet to form a solid base. Remember to keep your tension consistent, as this will help keep your chick looking neat.
- Round 1: 6 sc in MR (6)
- Round 2: inc in each st (12)
- Round 3: sc in next st, inc repeat around (18)
- Continue adding rounds, increasing until you reach the desired size.
Once the body is complete, gently stuff it with fibrefill, being cautious not to overstuff to maintain its shape.
Beak
Switch to orange yarn for the beak.
- Ch 5, then sc in the second chain from the hook.
- Sc in the next two chains, then dec over the last two stitches to form a triangle.
Sew the beak onto the front of the chick’s face.
Wings
For the wings, make two small pieces using yellow yarn.
- Ch 4, turn and sc in each chain.
- Attach to the chick’s body, positioning them symmetrically.
Feet
With the orange yarn, create two small feet.
- Ch 6 and sc in the second chain from the hook.
- Row back, creating little toes.
Attach these to the bottom of the chick, making sure they are spaced apart properly.
Watermelon Detail
To add the watermelon slice accent, use both green and pink yarn.
- With green, ch 14 and form a small curve, adding stitches as needed to create the rind shape.
- Switch to pink to create the flesh of the watermelon, ensuring you leave space for the seeds.
Using black yarn, stitch tiny seeds into the pink area to complete the look.
Face Details
Use a small amount of black yarn to create the eyes. You can crochet or embroider them depending on your preference. Position them just above the beak to give your chick a friendly expression.
Assembly and Finishing
Now it’s time to assemble your watermelon chick! Start by securely attaching the beak, wings, and feet to the body. Once everything is in place, consider adding a light steam-block to ensure all pieces sit correctly.
If you’re interested in exploring more playful crochet creations, check out this crochet chicken pattern to expand your skills and collection.
Tips for the Best Result
- Use a stitch marker to keep track of your rounds, especially in the body, to maintain even stitching.
- When stitching parts together, make sure to use a strong, neat technique to avoid them coming loose.
- For the best shape and structure, light stuffing is preferable; this gives your chick a nice rounded look without being too firm.
Creating this watermelon chick is a joyful project that adds a touch of whimsy to your home or makes a thoughtful gift. Enjoy crafting!